I attended a wedding a few months back where the bride and groom had rented a photo booth. With a combination of props and wine, there were many great photo strips being printed and passed around and it quickly turned into quite the contest. Naturally, I won. It seemed like a great idea – the guests were really enjoying themselves and the bride and groom kept a copy of each strip to put into a photo album documenting their big day.
After the wedding, I was talking with some friends who had done something similar and mentioned the cost involved with renting a photo booth. It seemed ridiculously high! After all, it's just a simple camera taking a few photos and printing them out on a photo printer! This got me thinking though… “I have a camera, I have a printer, and I have Visual Studio… I should have a photo booth at my house!”
And so an idea was born.
Wanting to do as little work as possible, I started my quest for a photo booth on Google. After a few quick searches, I was very pleased to find that Canon, the maker of two of my camera’s, offered SDK’s for development for both their point-and-shoots and their DSLR’s. Thinking I could multi-task and expand this into a custom time-lapse photography application (which will surely offer me hours of entertainment at a later time), I decided to run with the DSLR option. After a quick email to Canon requesting their Canon Digital Camera SDK, I was in business.
While the SDK provides all the DLL’s you will need to develop Windows based applications, it is, unfortunately, primarily written in C. They are kind enough to provide a simple class in C# that, while really just a starting point, will allow you to get started. Not wanting to develop my own wrapper, I again took to Google to see if anyone else would be kind enough to share their work. Luckily, I found two great resources, a blog post and wrapper by Wayne Hartman, and a code project by Christian Graus and Benjamin Liedbad. While both were fantastic resources, Hartman’s wrapper and sample project has very nearly done all of the work already.
After getting the demo application up and running, it was a simple matter of creating a new form to function as a UI, adding a few timers and events to take a few pictures, and then resizing the photos and assembling a photo strip. And done! A home made booth for my next Holiday party!
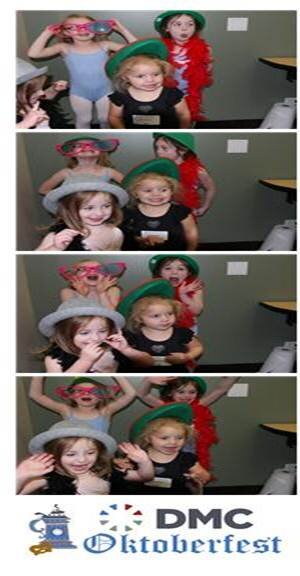
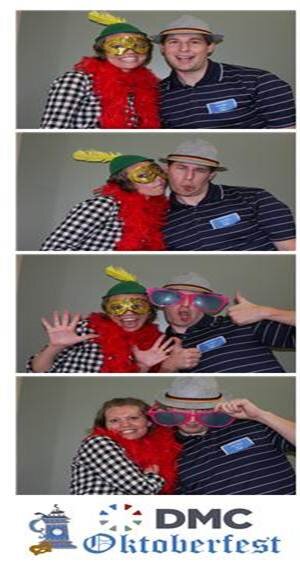
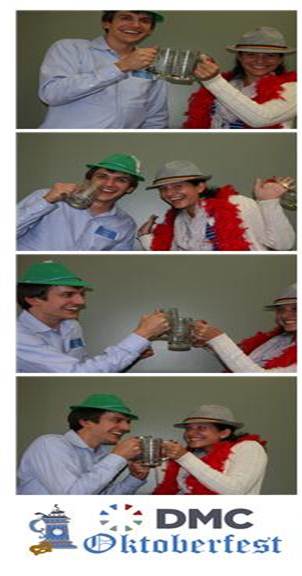
Recently, we had a DMC Oktoberfest event here at our office. It seemed like a good place to set up a photo booth, so it made its first appearance. Enjoy some of the results!
Learn more about DMC's company culture.