Imagine being able to create real-life, three-dimensional objects just as easily as we print documents from Microsoft Word. Need a new case for your phone? Don’t buy one, just print it. Do you want a keychain customized with your company’s logo? Just print it. Pretty cool, huh?
It was this cool factor that drew Boris, Ryan, and me to the idea of making a 3D printer. During this year’s FedEx Day we brought this dream to fruition by assembling a 3D printer capable of building three-dimensional objects out of extruded plastic.
We knew constructing a 3D printer from scratch would be much more than a one-day task, but there are many kits for 3D printers available from various distributors. Boris found a kit called the “Thingomatic,” made by MakerBot Industries. We selected this kit due to its reasonable price, excellent instructions and community of users, and special features.
For example, a heated and automated build platform allows the device to complete an object, eject it onto the automated conveyor belt, and then begin printing another object. This is a handy feature for printing a large number of objects in a row without a need for user intervention; for instance making 50 DMC key chains.
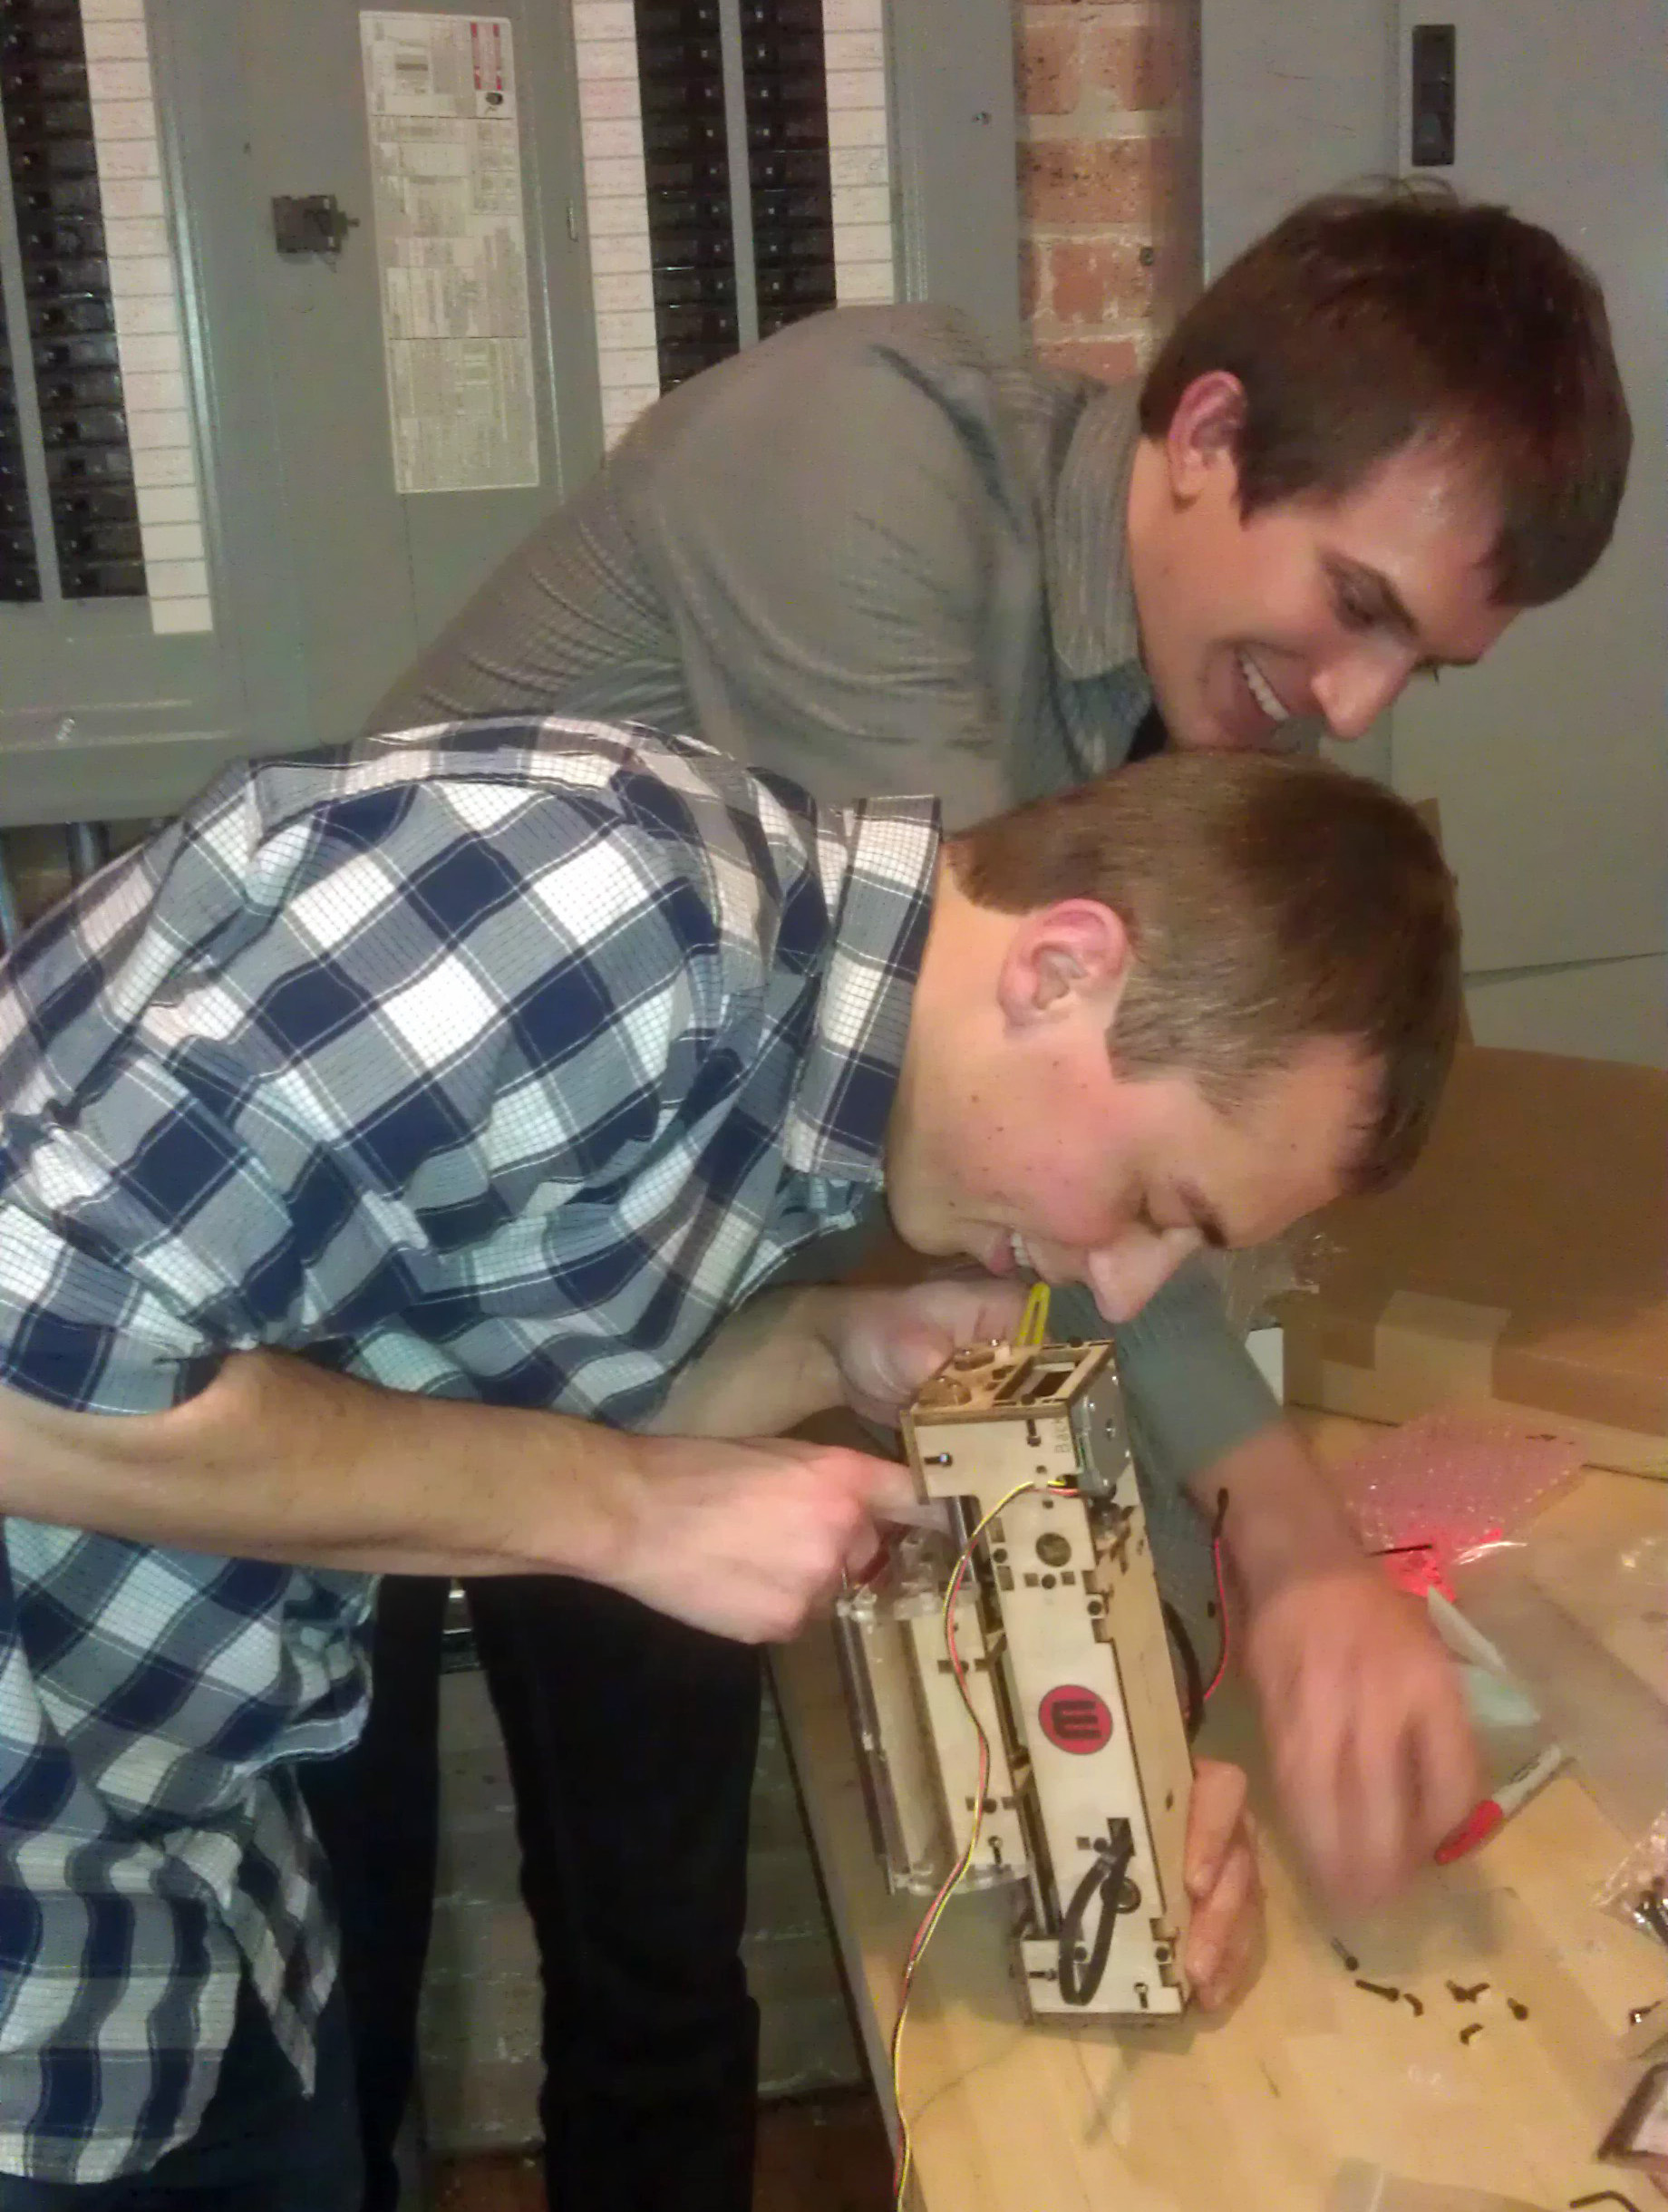
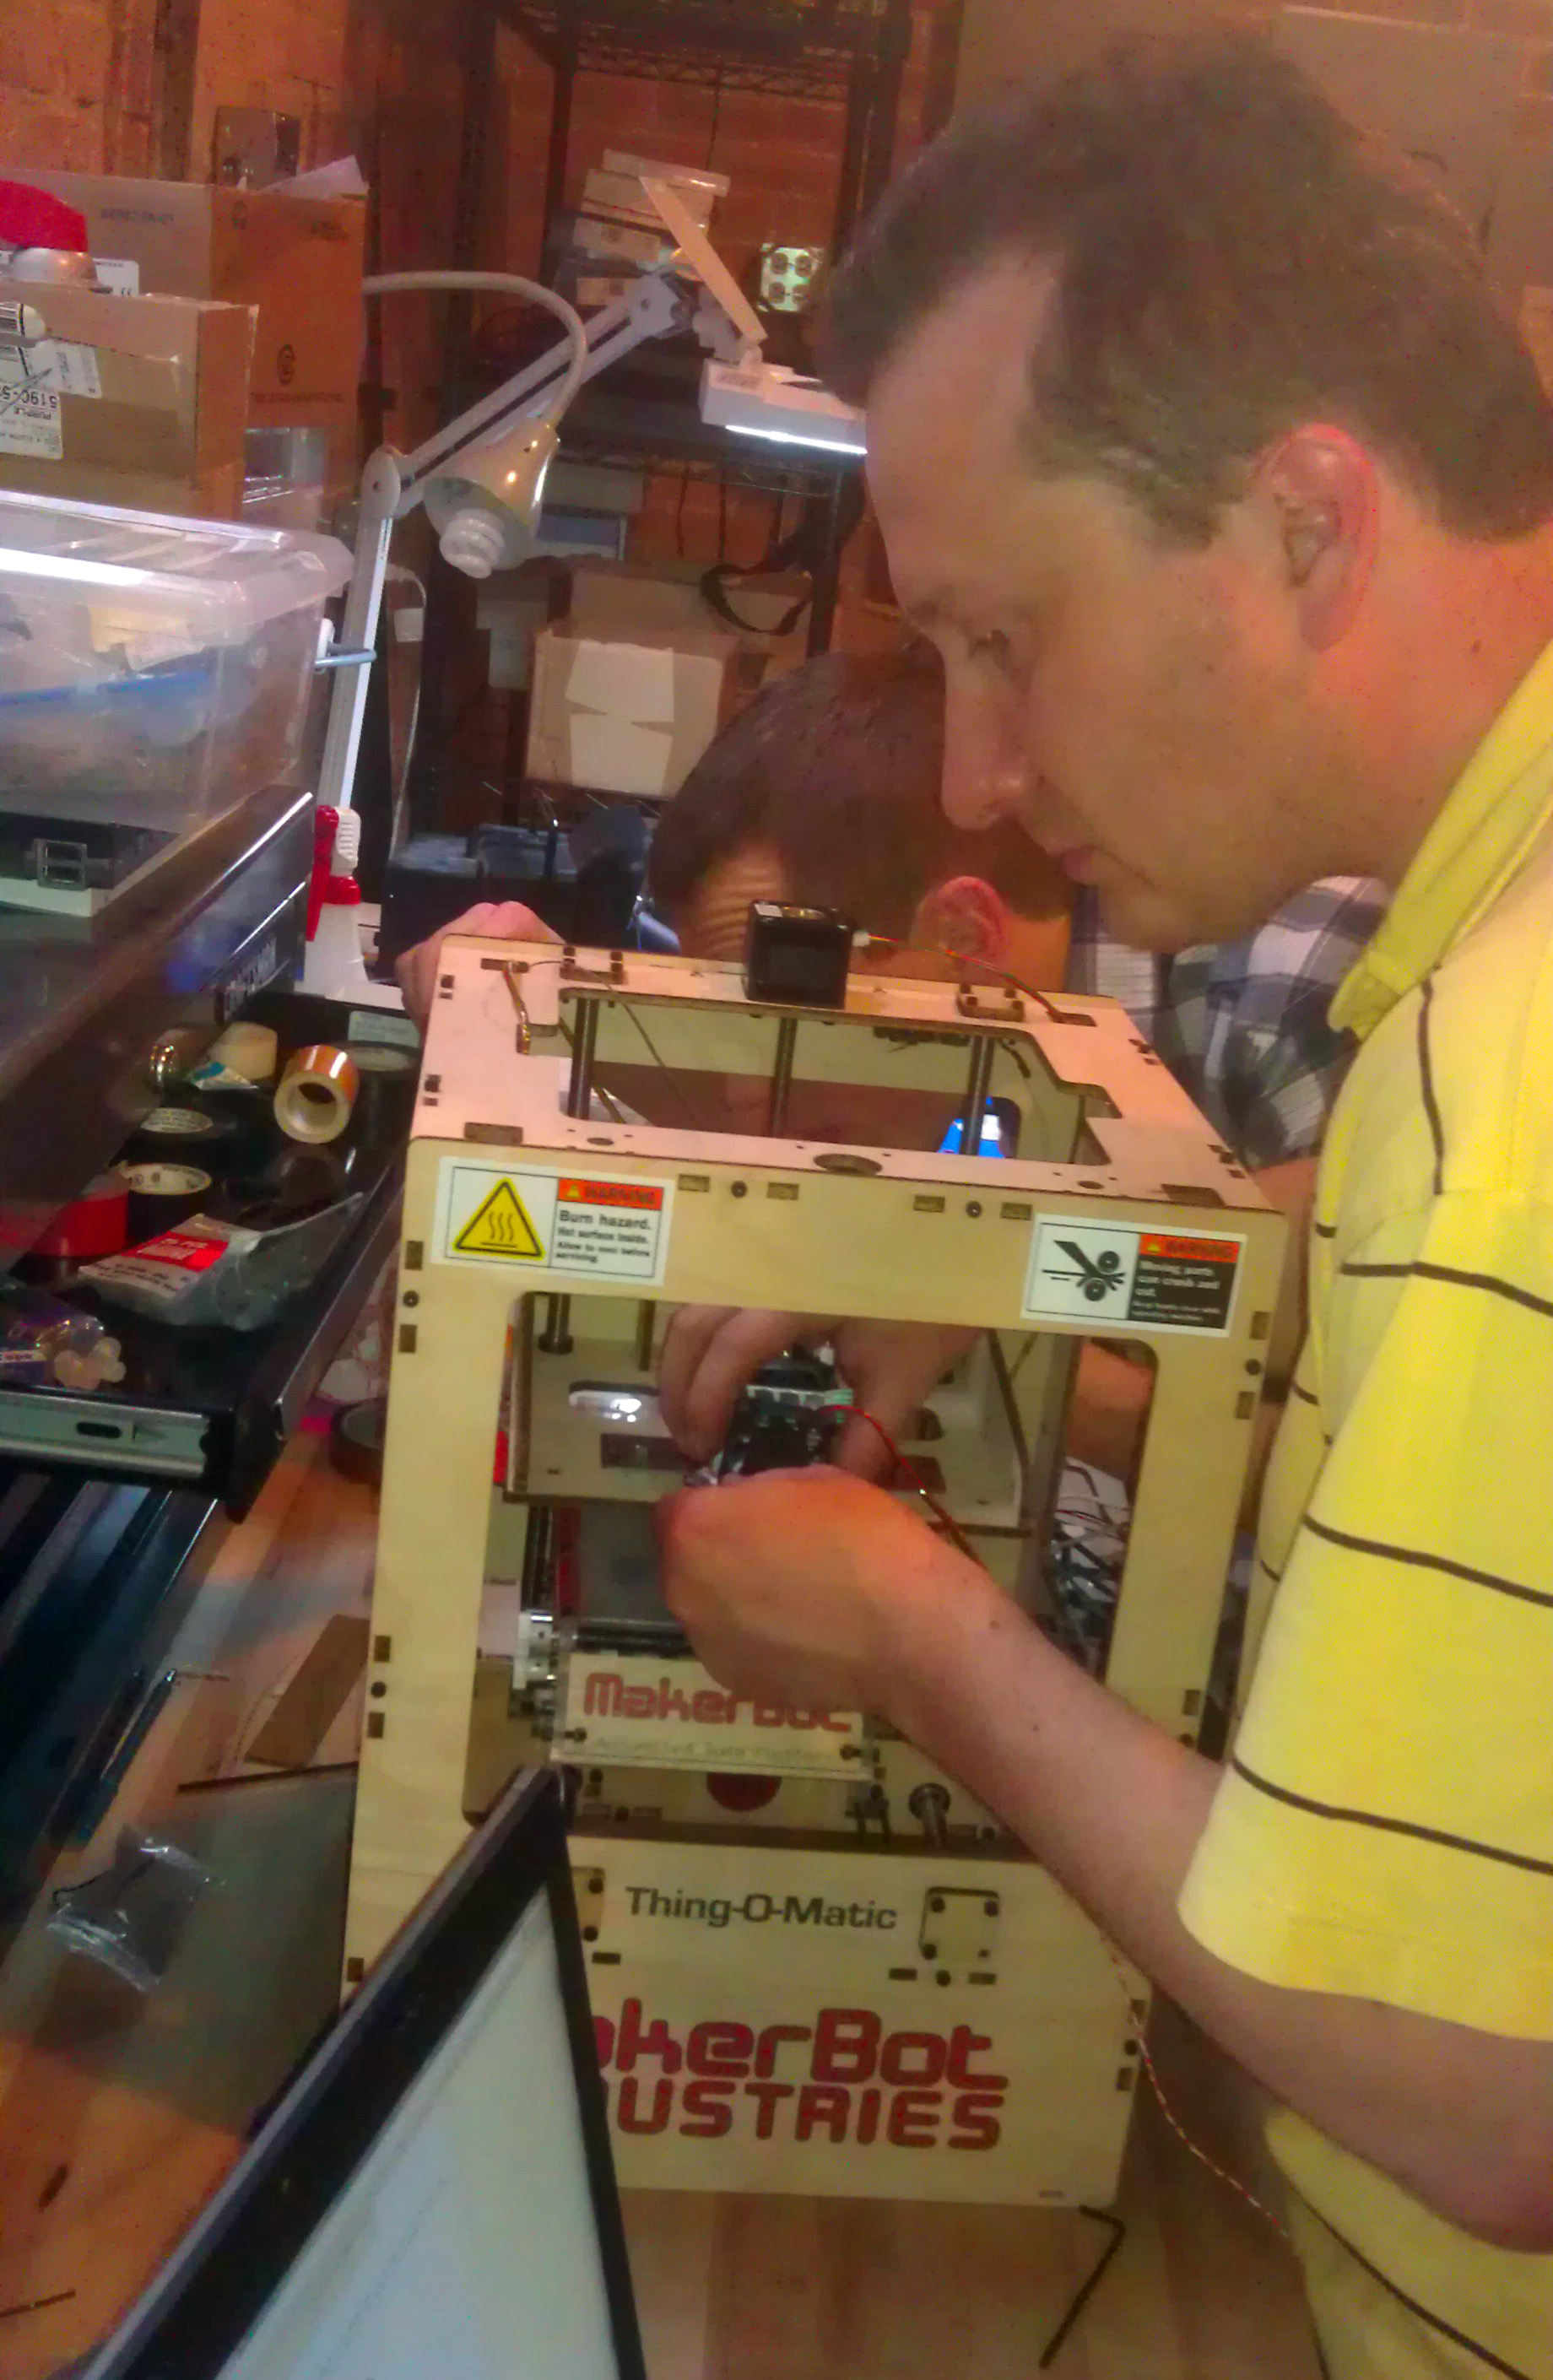
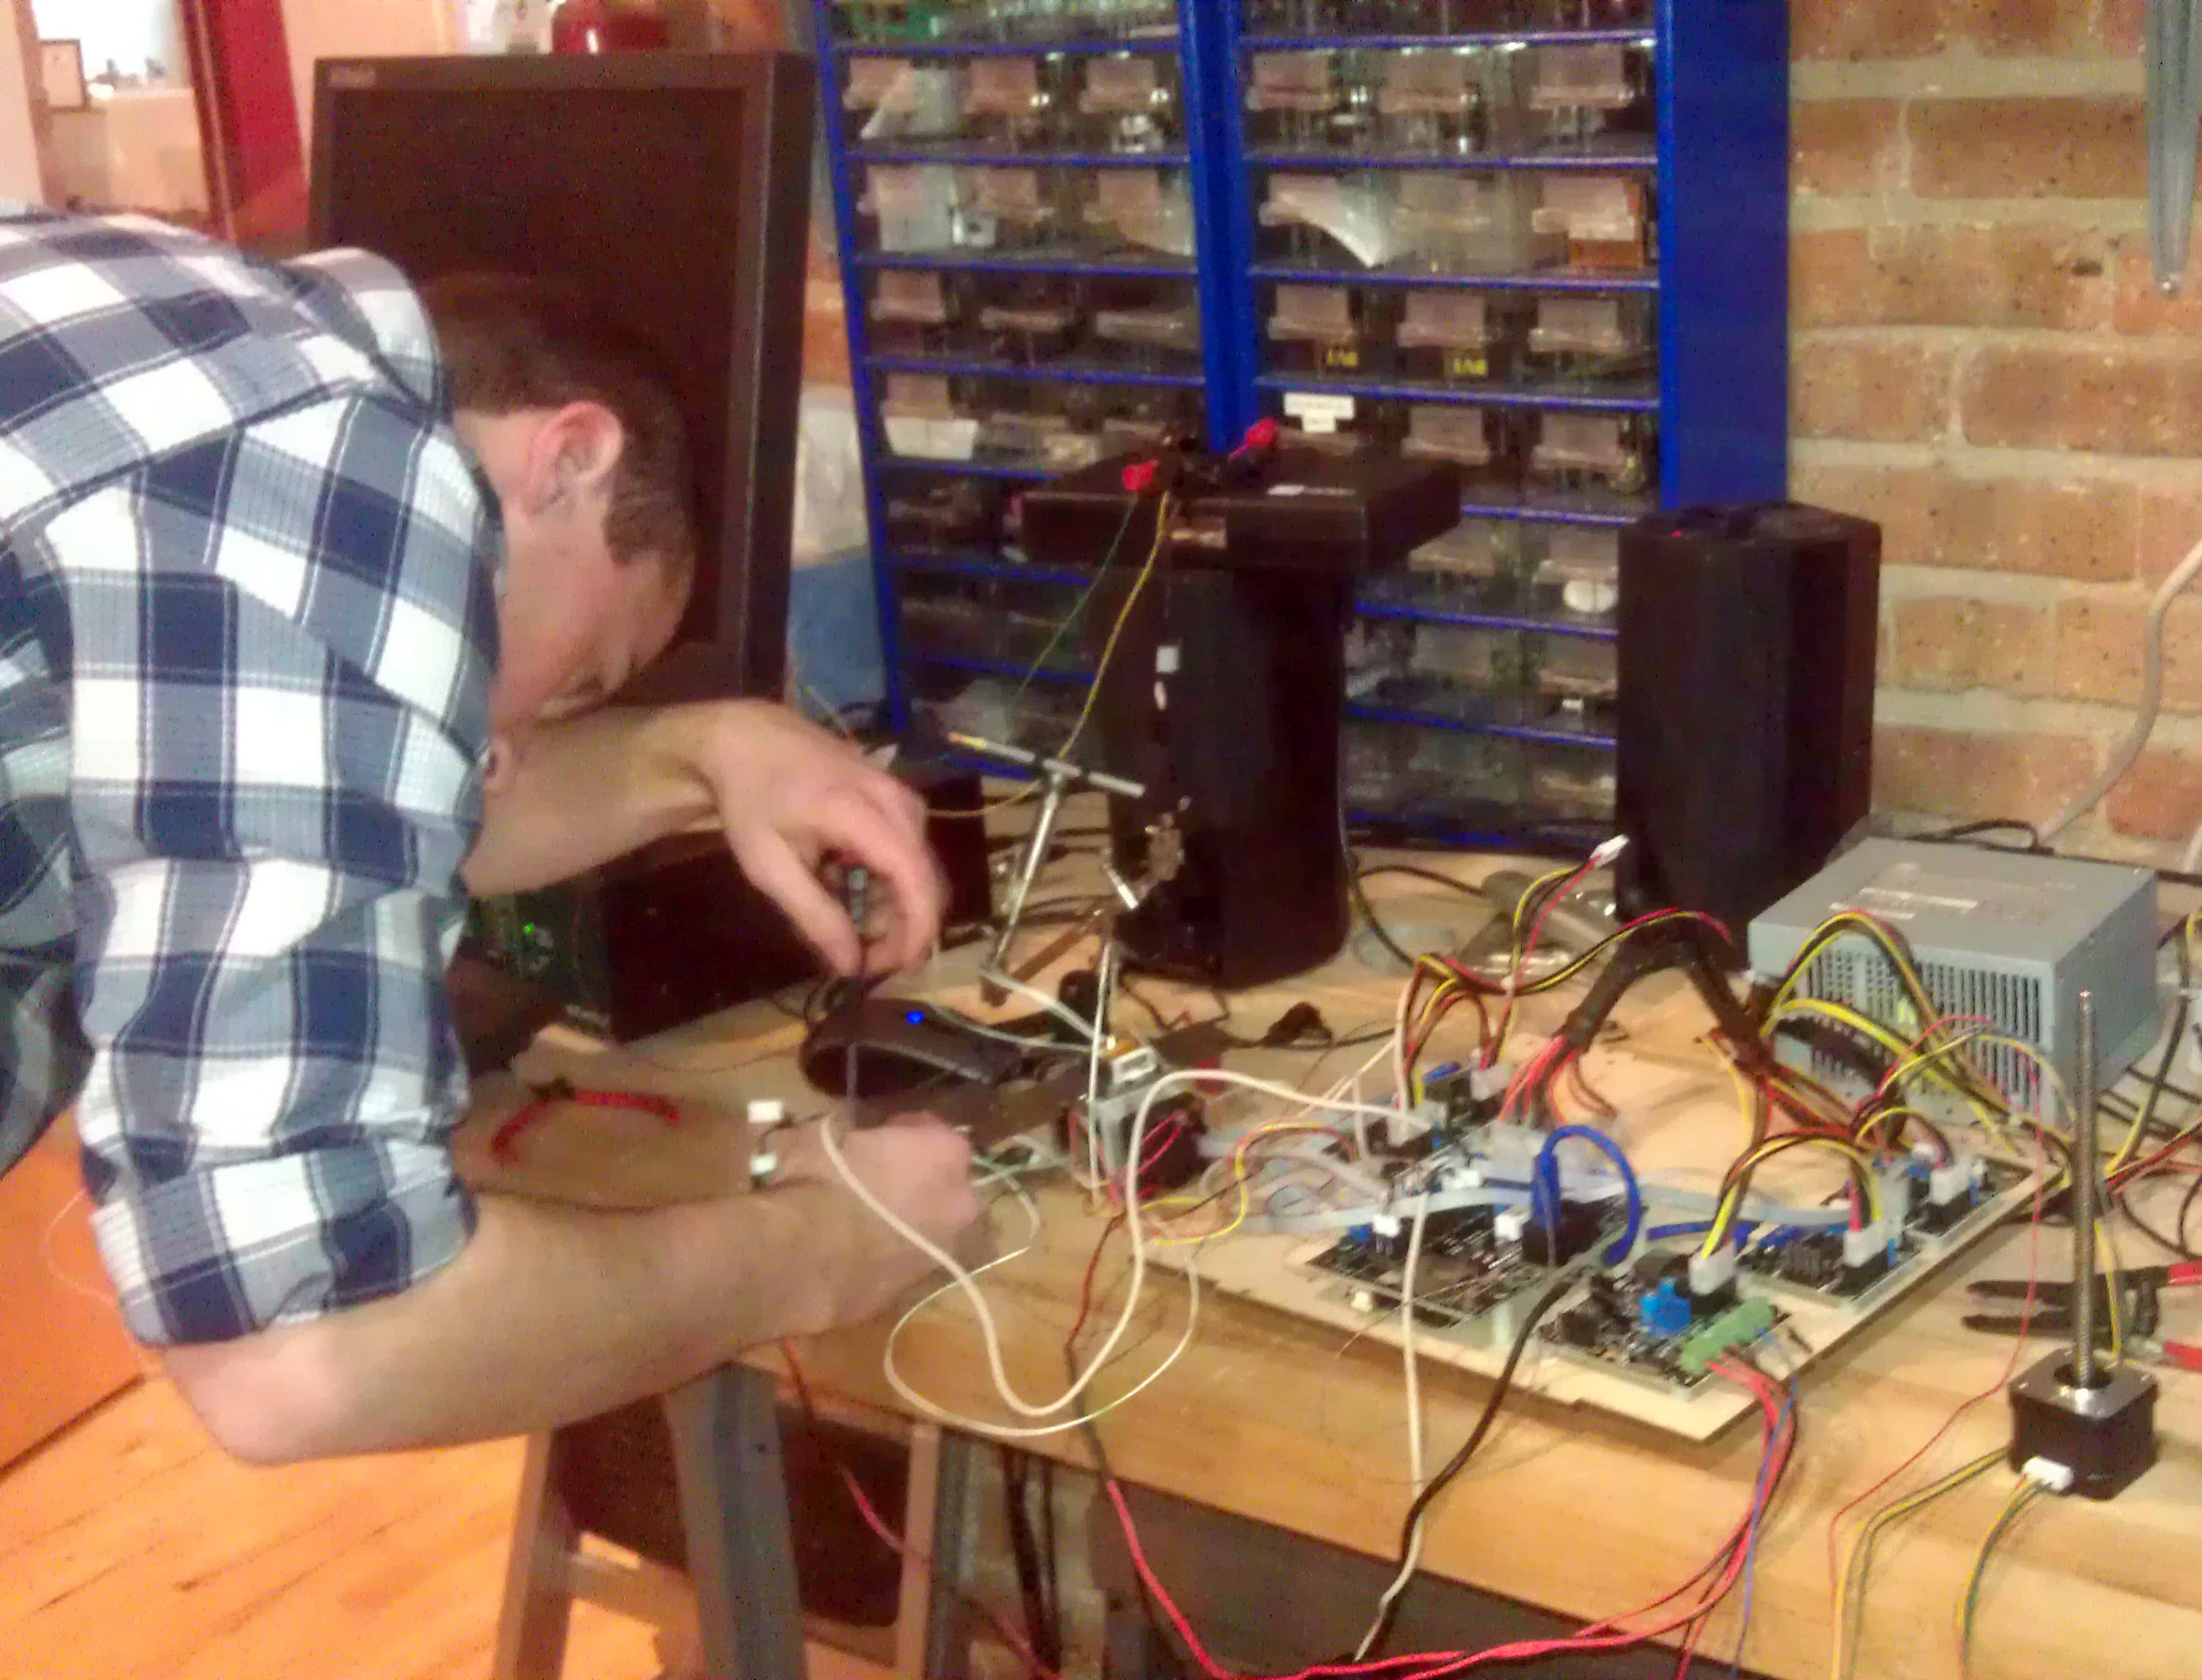
The assembly process was relatively straightforward with the aid of the excellent instructions on MakerBot's website. The three of us were able to divide and conquer on the various components of the assembly, and then combine them into the final product. By the end of FedEx Day, we were printing some test objects.
In a move one step closer to self-replicating robots that eventually overrun the human race, our first useful 3D printing project was to print a new component for the printer. The plastic for the extruder comes spooled on a large roll, but the kit does not include a mounting bracket for the spool.
Luckily, with the internet to the rescue, we found a 3D file for a spool holder on an amazing website called Thingiverse. There are thousands of files that other 3D printer enthusiasts have uploaded to this site. The particular spool holder we printed is located here.
Warping problems
Printing a part as large as the mounting spool came with some of its own problems. On our first attempt, we tried to print the spool holder with 100% infill, meaning the object would be printed using solid plastic. After a few layers of plastic were laid down, the plastic started to warp badly.
Eventually, the warping became so bad that the base dislodged itself from the build platform, causing the extruder to print erratically. We had to stop the printing and try again with different settings. In the end, the warping issues were solved by increasing the temperature of heated build platform and decreasing the infill down to 30%. The 30% infill was still plenty strong to hold the spool.
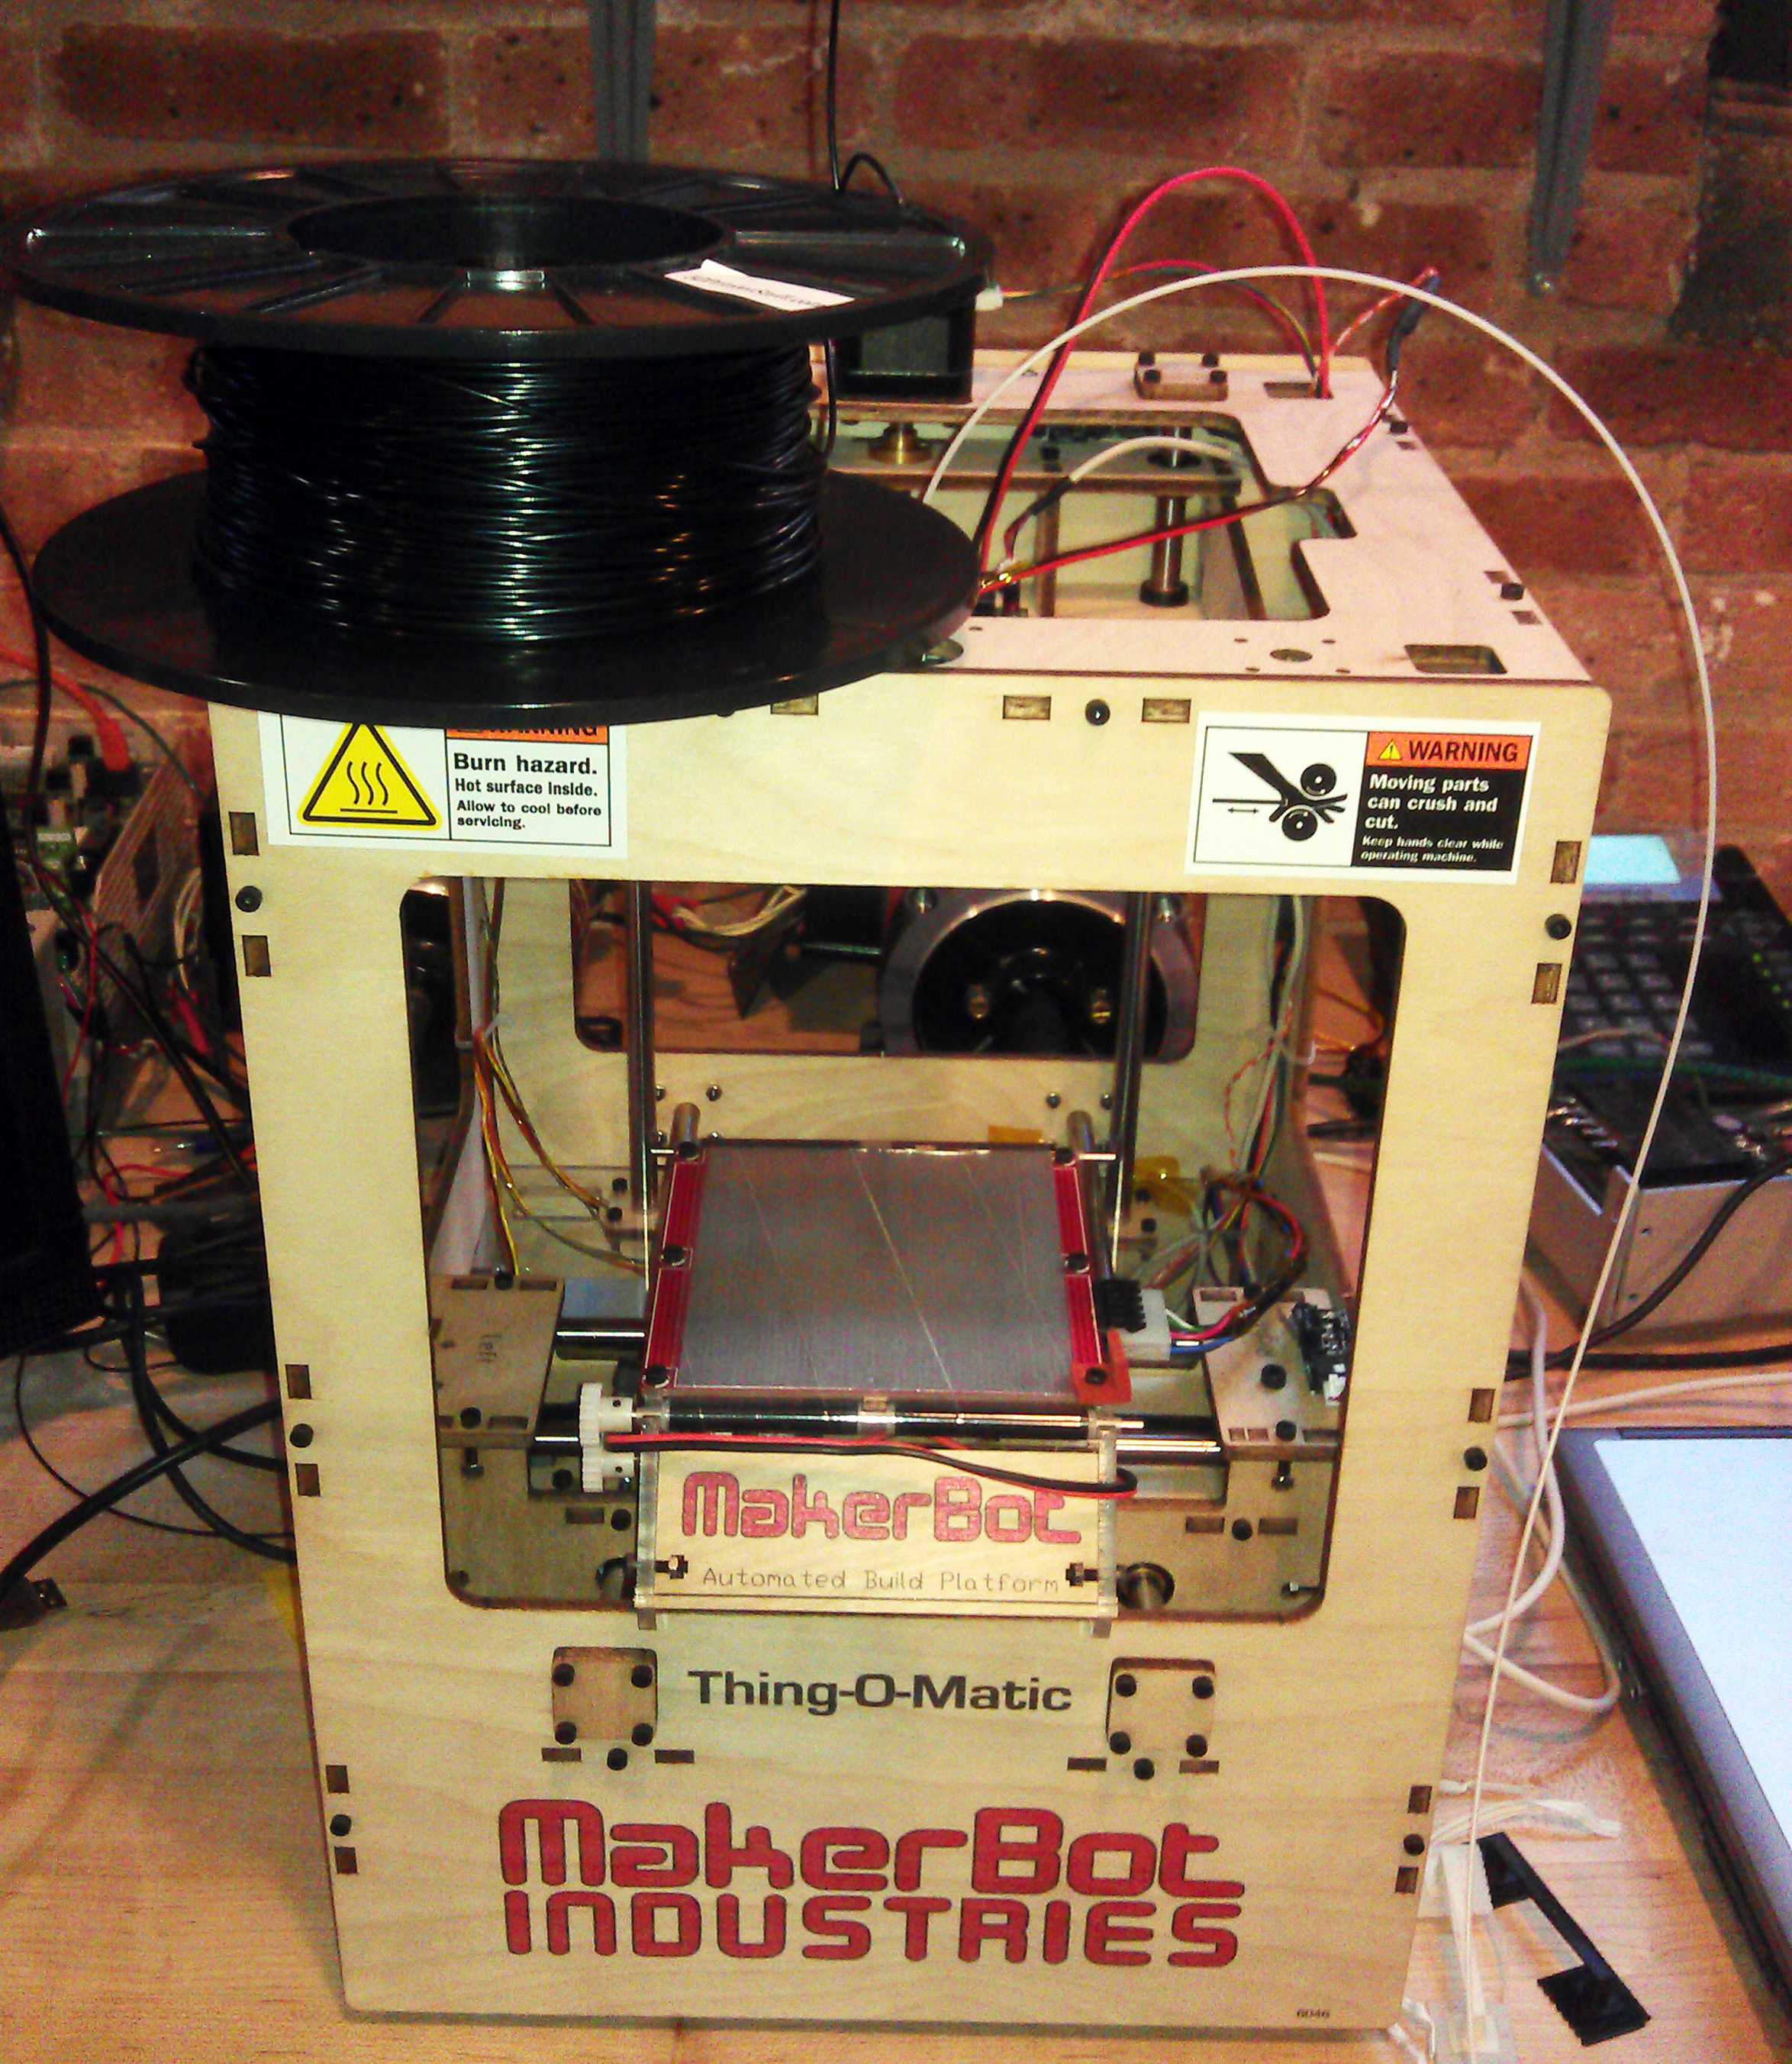
Final Product
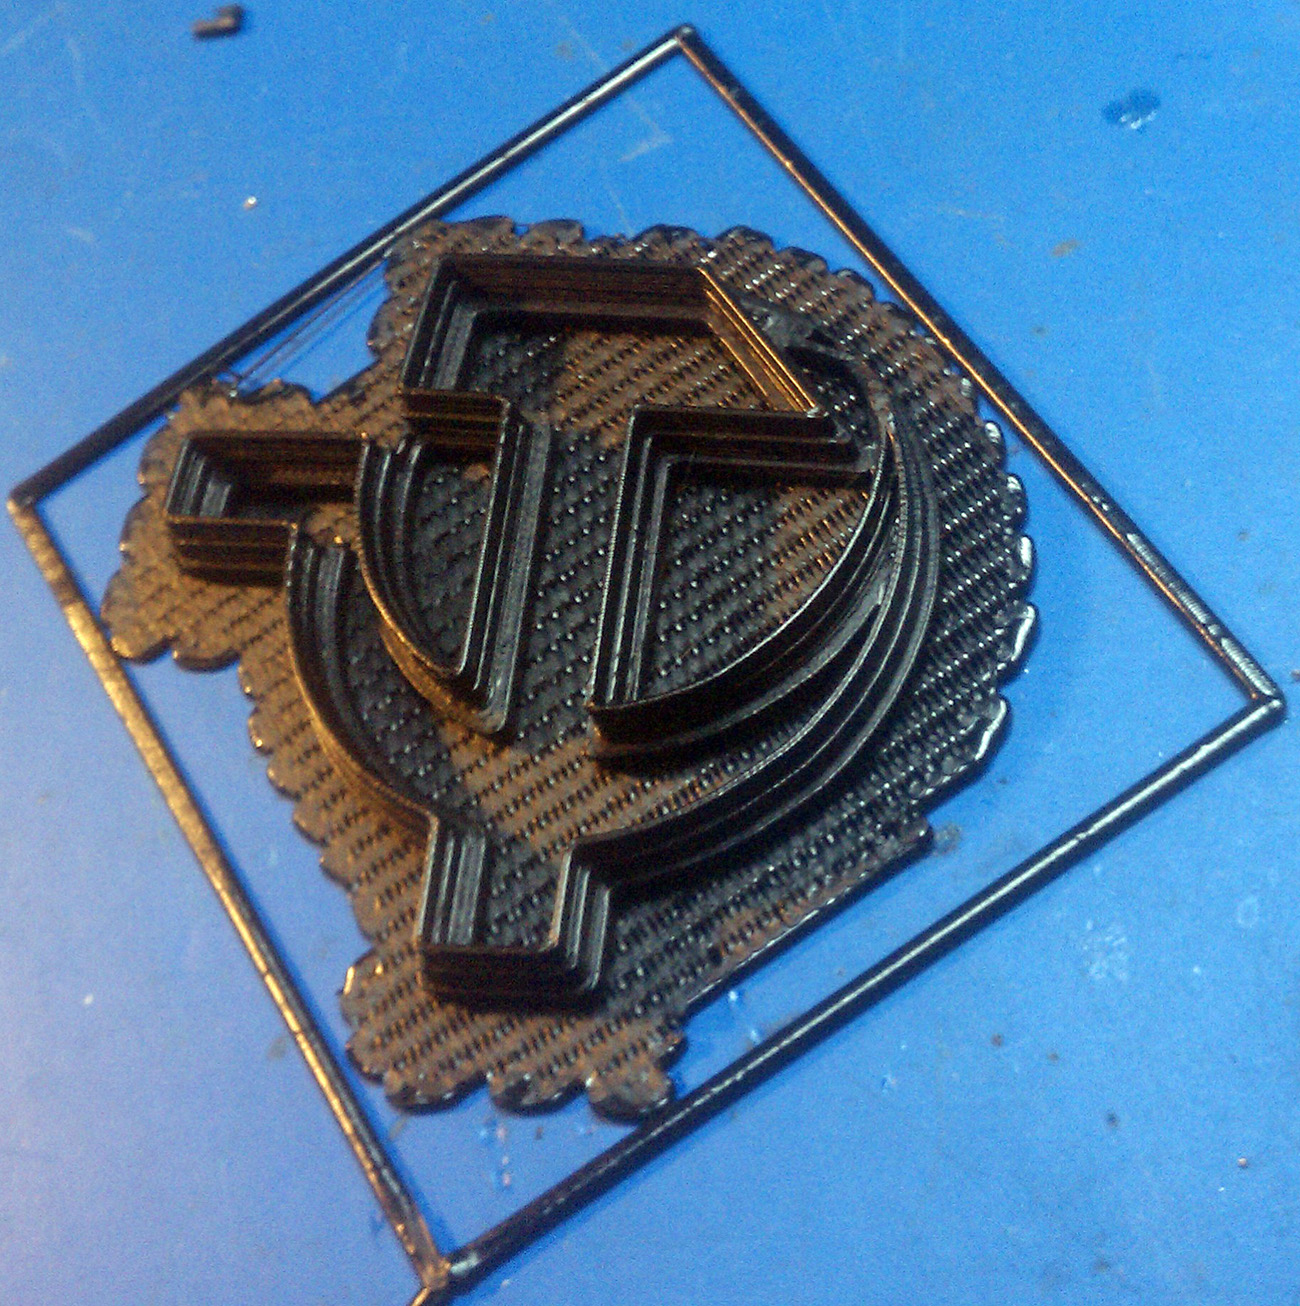
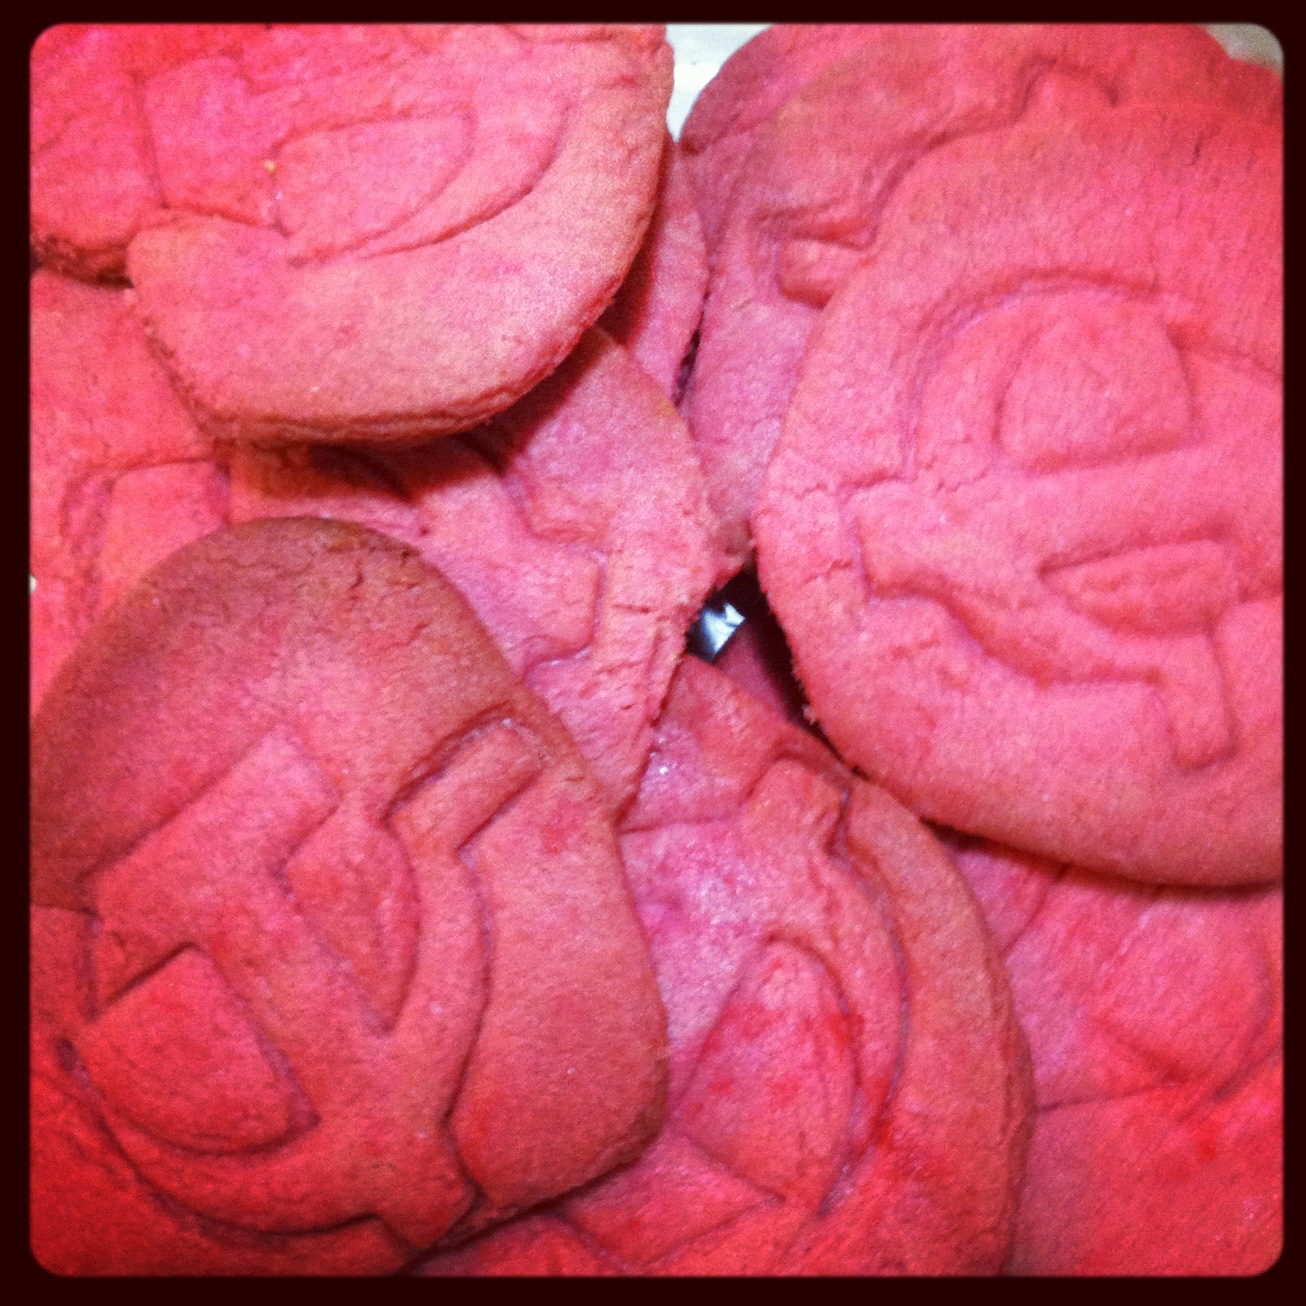
In the end, we had a pretty cool result for just a day’s work. To have some fun with our printer, Boris created a computer model of a hammer and sickle cookie cutter so that he can represent his Russian pride in cookie form. The cookie cutter printed without a hitch, and the best part was the next day when Boris brought in Soviet cookies that he made with his new prized possession.
For anyone who likes to make things themselves, but is better with computers and electronics than they are with their hands, the Thingomatic 3D printer makes a great weekend project. I’m excited to see what creative ideas we use it for here at DMC.
Learn more about DMC's company culture.