Azure AD Authentication with BlazorWASM using OAuth2
This blog will walk through how to use Azure Active Directory as an authorized provider for a BlazorWASM application. No server-side code is required.
Overview
We’ll be implementing the authentication using OAuth 2.0 implicit flow for the SPA app, as seen here:
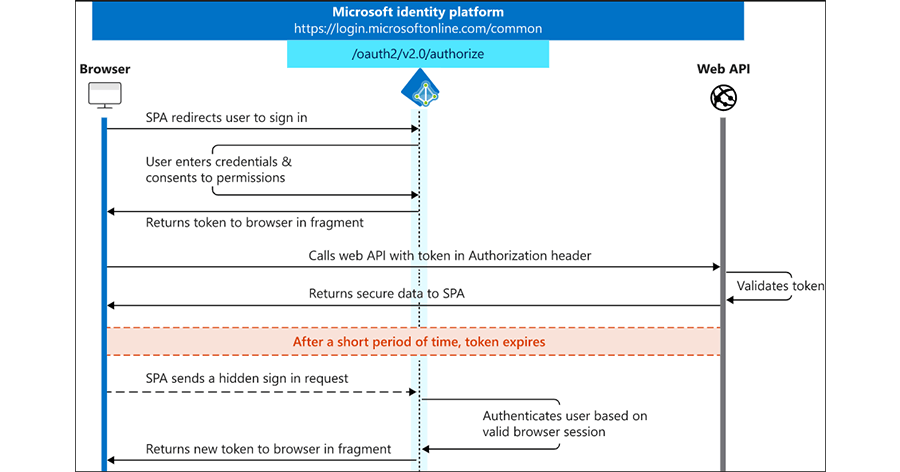
We won’t get into the Web API since it’s not a necessity, so this blog only focuses on this portion: 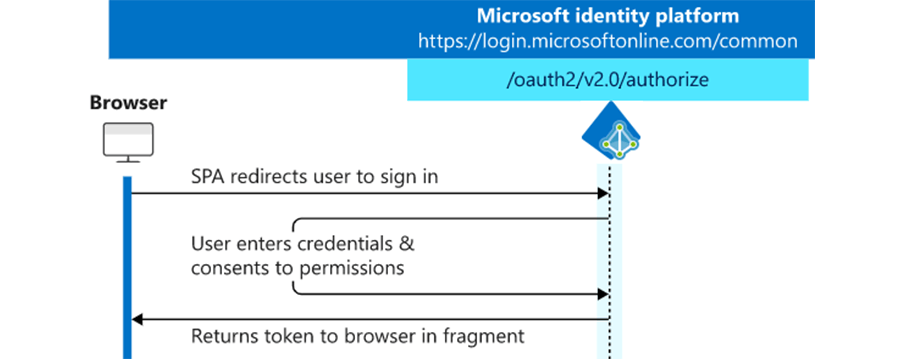
This same flow can be used for all the major authentication providers; Facebook, Twitter, Google, etc, so you could even provide buttons in the BlazorWASM app to let the user choose which auth provider they want to use. We’re going to set up this demo to just use Azure/Microsoft.
Register a New App with Azure Active Directory
The first step is to configure Azure so that it knows how to do after a user signs in, and what information we want it to return in the auth token.
- Log in to the Azure Portal
- Open the Azure Active Directory blade
- Found under the hamburger menu in the top left of the portal, or you can search for it
- From the new blade, select “App registrations” in the left menu
- Click “New registration”
- Enter a name for this app registration
- The name will be used in the portal to identify this registration, and it doesn’t need to match the name of the Blazor app
- Select the appropriate account types that you want to allow to log in.
- If you only want users from a single domain, you can select the first option. (Accounts in this organizational directory only)
- For this demo, we want anyone with a Microsoft account to be able to login to the BlazorWASM app, so select the last option. (Accounts in any Organizational directory)
- Specify the return URL.
- This will need to be a valid URL that points to our BlazorWasm app
- Since we’ll be using the BlazorWASM project template, and only running from localhost for this demo you can enter: https://localhost:5001/authentication/login-callback
- If you change the routing in the BlazorWASM app or deploy it to a live web server, you’ll need to come back and add the new return URL to this app registration.
- Click Register to complete registration
- Once the registration is complete, select the Authentication menu item, then select the ID tokens option under the Implicit grant.
- This is required so Azure will return a token with all the user information back to the BlazorWASM app
- Click Save at the top, then click Overview from the menu on the left. We’ll need the ID from this screen to create the BlazorWASM app
Create the Blazor WASM App
- Open PowerShell, and CD (change directory) to the folder you want to create the BlazorWASM app in.
- Install the latest BlazorWASM template:
dotnet new -i Microsoft.AspNetCore.Components.WebAssembly.Templates::3.2.0-preview3.20168.3
- Create BlazorWASM project from the template we just installed
dotnet new blazorwasm -au SingleOrg --client-id <client Id from Azure>
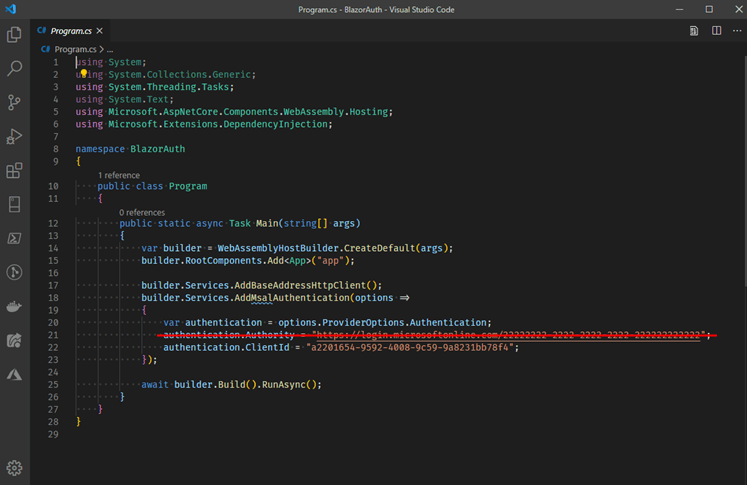
We need to make one edit to the template code, so open up the program.cs file in your favorite text editor or IDE and delete line 21.
The BlazorWASM template with the SingleOrg auth flag pulls in the required MSAL components that we’ll use for the implicit auth flow, but it also registers a default TenantID of 2222. By deleting line 21 we can use MSAL to authenticate against any Microsoft tenant.
- Run the BlazorApp:
dotnet run
- Then, open a browser to view the app at https://localhost:5001
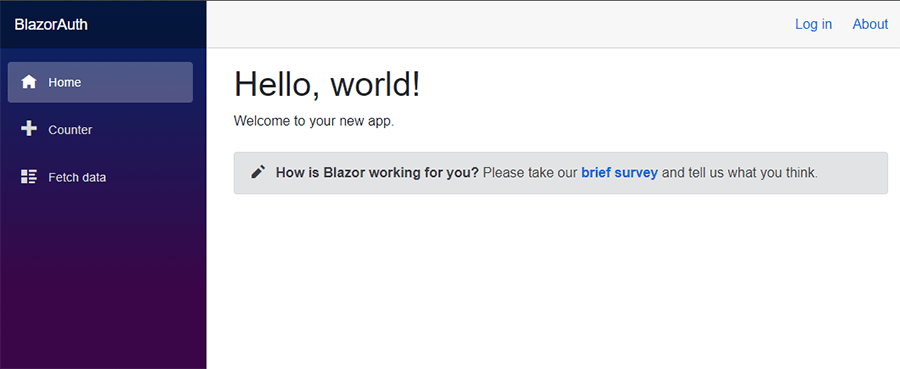
- Click Login in the top right corner and the Microsoft login screen should popup
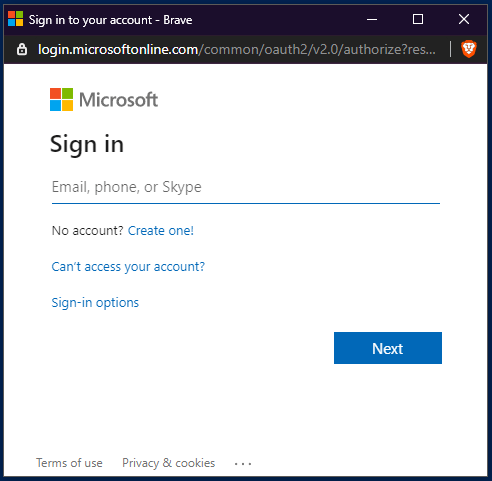
Login using your standard Microsoft credentials, Xbox live login, or another AD login
- If you have 2FA enabled on your account you’ll need to confirm with your second form, then grant the requested permissions.
- The requested permissions can be modified in the Azure App registration if the BlazorWASM app needs more or less access to the account
- You should now be logged in and see your name displayed in the web app, next to a logout button
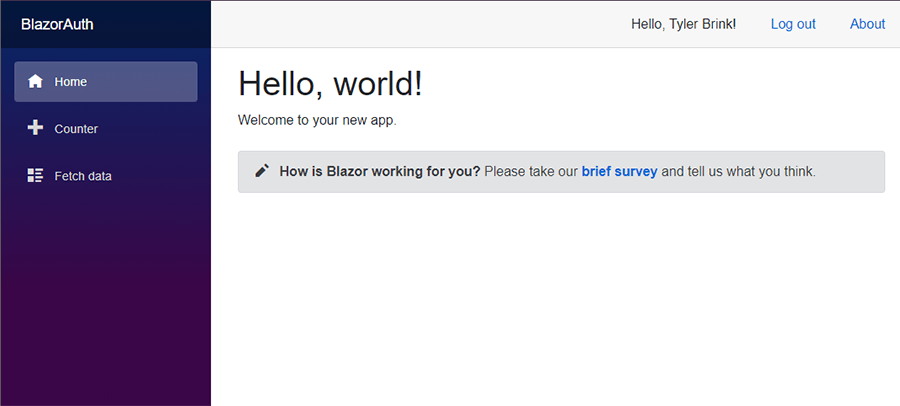
- You can now start customizing the BlazorWASM app with protected routes.
Learn more about DMC's Azure expertise, Digital Workplace Solutions, and Application Development services.
Comments
There are currently no comments, be the first to post one.