Microsoft Azure, Microsoft’s cloud computing service that can build, host, and manage applications, is a very powerful and robust tool that DMC often uses to host both client and internal applications. As a Microsoft Gold-Certified Partner, DMC has extensive knowledge of Azure and we frequently post helpful information and guides about the platform. Azure offers far more than basic cloud computing and in this blog, I will be discussing one of its lesser-known services, Azure Key Vault.
Web applications almost always communicate with other services or applications in some capacity. Since we want these interactions to remain secure, any communication between services should be authenticated. There are many ways that applications can authenticate themselves but usually, the process requires a certification, password, or some combination of the two. This can be cumbersome to manage, but that’s where Azure Key Vault steps in.
Azure Key Vault
Key Vault is a secure and convenient service to manage an application’s certificates, keys, and secrets. You can easily and securely store this sensitive information in the vault and choose which applications have access to it. Then, Azure handles the authentication and authorization—it’s as simple as that. Nobody will be able to access Key Vault unless you have given them explicit access, and there are even additional advanced security options for especially sensitive information. For a more in-depth look at these options, I recommend reading through the official Microsoft documentation.
Setup
Now that we know the uses and benefits of Key Vault, I’ll walk through how to set it up.
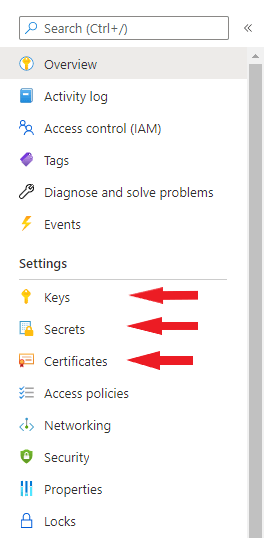
- Import your certificates, keys, and secrets. For background, certificates are X509 certificates usually provided by a Certificate Authority. Keys are cryptographic keys used for authentication, authorization, and encryption (Key Vault supports software- and HSM-protected keys). Lastly, secrets are everything else you might want to protect such as passwords or database connection strings.
- Once this information is imported, you need to set up access to the Key Vault for your applications. There are several ways to do this, but the easiest is to use managed identities. The other services in your Azure accounts have identities that are automatically managed by the Azure Active Directory authentication.
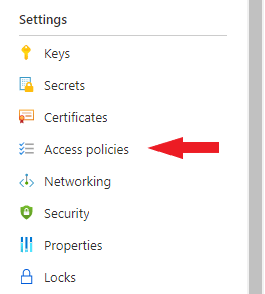 When adding an access policy, select your existing applications and services, then Azure will handle the rest!
- Note: only set up access policies for entities that need to use what’s in the Key Vault. There are also options to set individual read/write access for certificates, keys, and secrets. Microsoft has a great explanation of these options here.
- The last step is to modify the code in your application to retrieve items from the Key Vault when needed. For this, you should use the most recent .NET library for managing Key Vault secrets, the SecretClient class. Initialize a SecretClient instance with the URL of the Key Vault and then your application is able to retrieve secrets by name as long as access has been granted.
Azure Key Vault is an extremely useful tool to use with existing Azure applications that use secrets to interact with other applications or services. It’s more secure, convenient, and traceable than storing the secret directly in the application. Since Key Vault keeps all this information in one location, you only need to make a single change when updating a shared certificate or secret—instead of having to go through each application individually. Azure Key Vault greatly improves the efficiency of this process, while still maintaining a high level of security and monitoring.
Learn more about DMC’s application development expertise and contact us today to get started on your next project.