If you frequently work with outside organizations, you understand the importance of consistent communication during collaborative projects. Microsoft Teams provides various ways to connect with your collaborators and coordinate efficiently. Read on to learn four of these methods, and choose the one that works best for you.
- Note: If you are communicating with a client and you see the word ‘(Guest)’ next to their name, it means that they must sign into your organization’s tenant in order to receive your messages.
- If you see ‘(External)’ or nothing next to their name, it means they can communicate with you from their own tenant.
- There are multiple ways to chat, but chat capability will be limited by the settings of the client tenant. Use options 1-3 if your IT department is unable to update the client’s settings.
- Option 4 is the best interface for you and your client but will require them to update their settings.
Short term client - Client Tenant Teams is locked down (cannot update Teams settings or highly restrictive):
Option 1 - Start and pin a group chat
The benefit of this option is that both users will be able to view the chat in their own tenant. However, it doesn’t allow for threaded conversations.
On the chat page in teams, click on the pencil edit icon to start a new chat and enter the client’s email address.
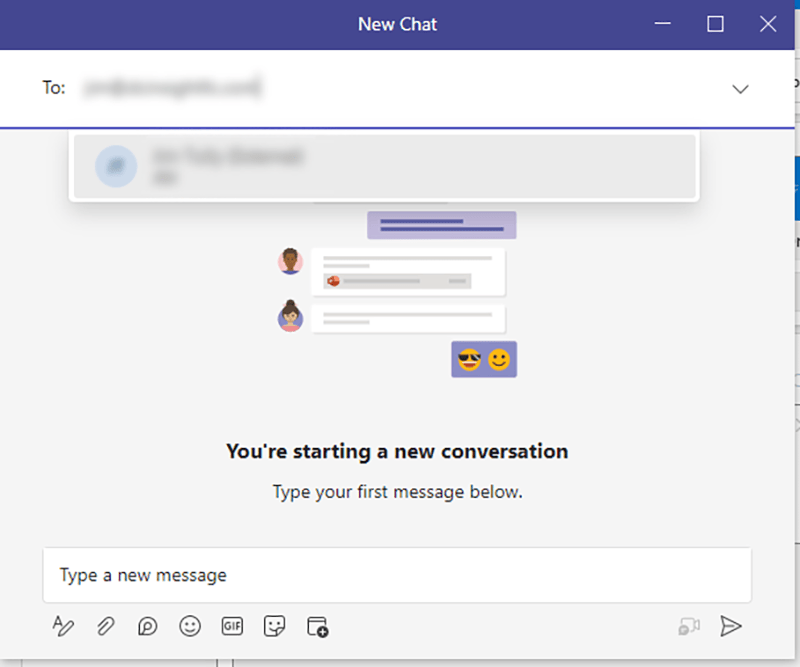
If their settings allow for communication, Teams will find the user and display ‘(External)’ next to their name so you can start a chat which allows both of you to stay within your own tenant.
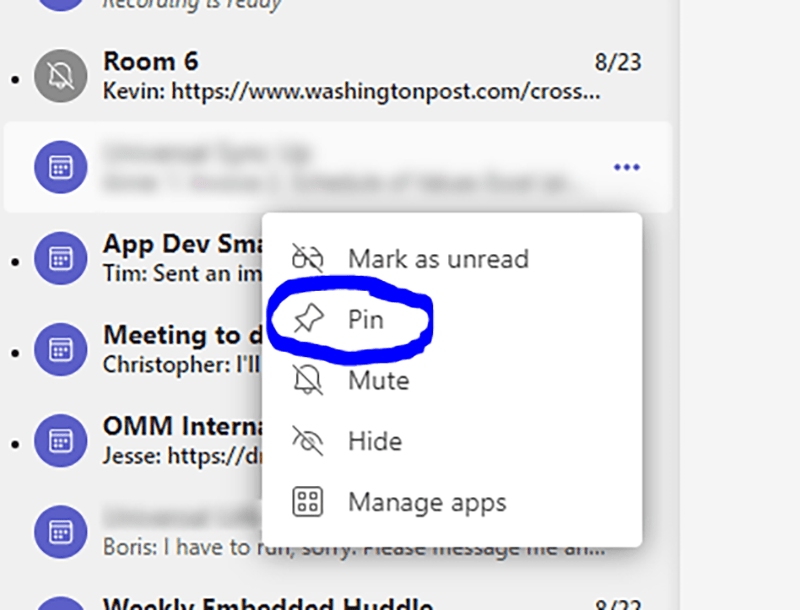
If you need to add multiple team members you can include members from other organizations. Teams will notify everyone in the group when you send a chat depending on their settings. Pin the chat by clicking on the 3 dots and selecting ‘Pin’.
Option 2 - Invite your client to a Team in your Tenant
This requires your organization’s tenant to allow external users. The benefit of this option is that you can share project documents and other content as needed and have threaded conversations in Microsoft 365. But users will be required to switch from their own tenant to yours, which is an inconvenience. This can be accomplished by switching tenants with the drop-down next to your name in the Teams interface, or by opening Teams in a private browser session. Make sure you have permissions accounted for before taking this step to ensure that clients only have access to content you want them to have access to.
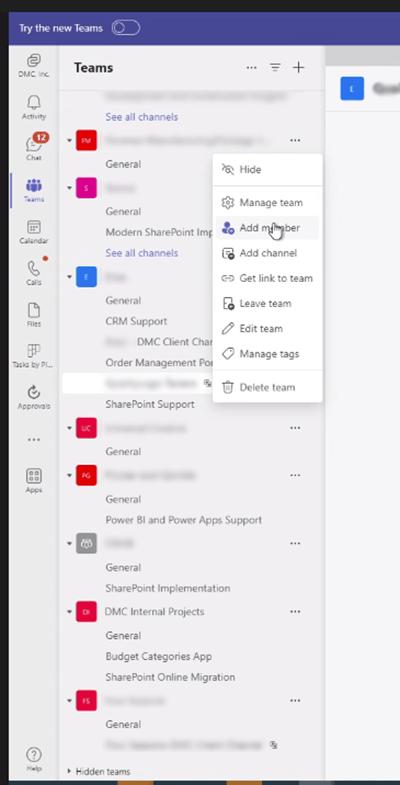
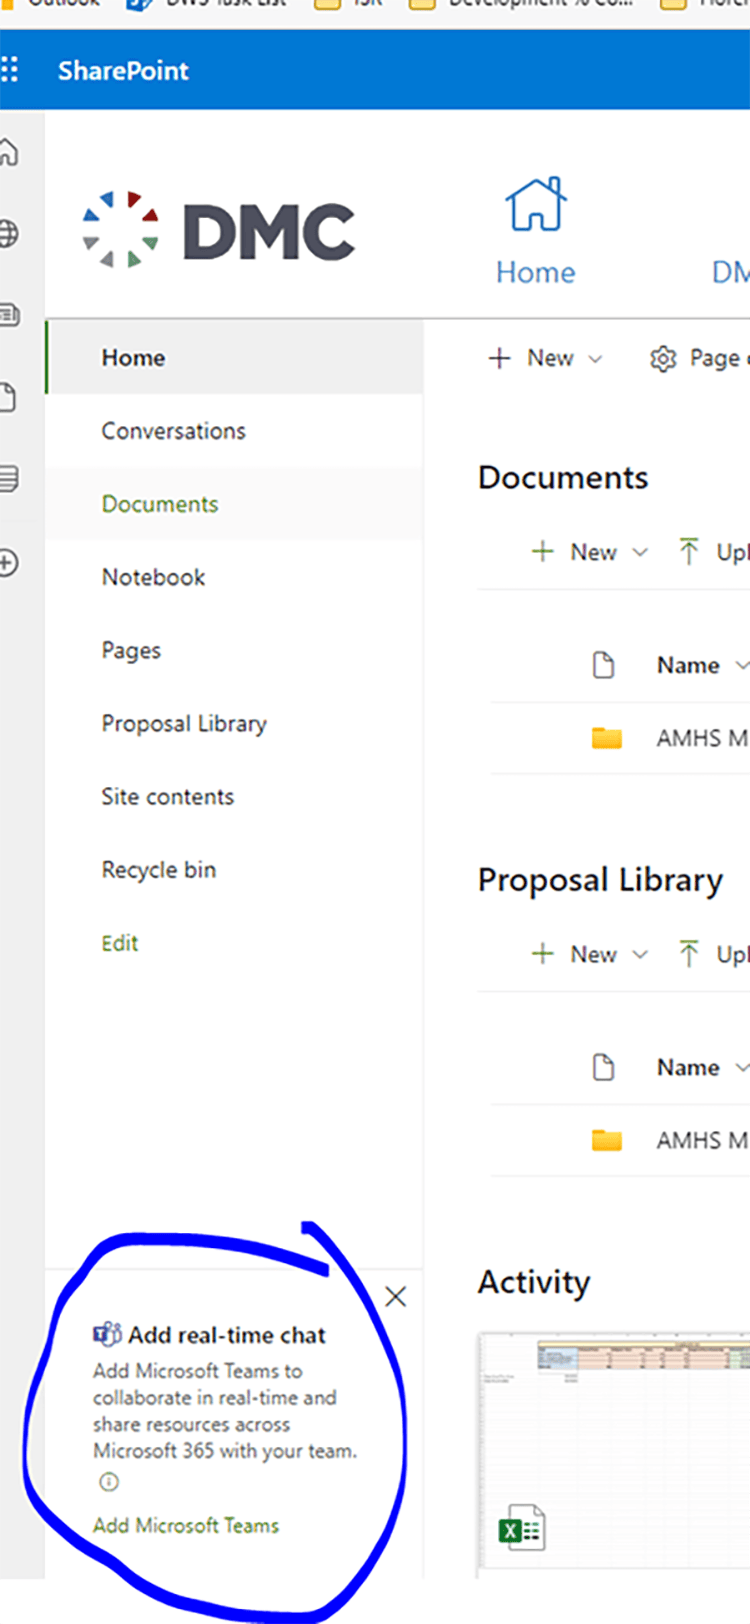
Create a Team by clicking on the left icon from the project’s SharePoint site and invite them as a guest to your tenant.
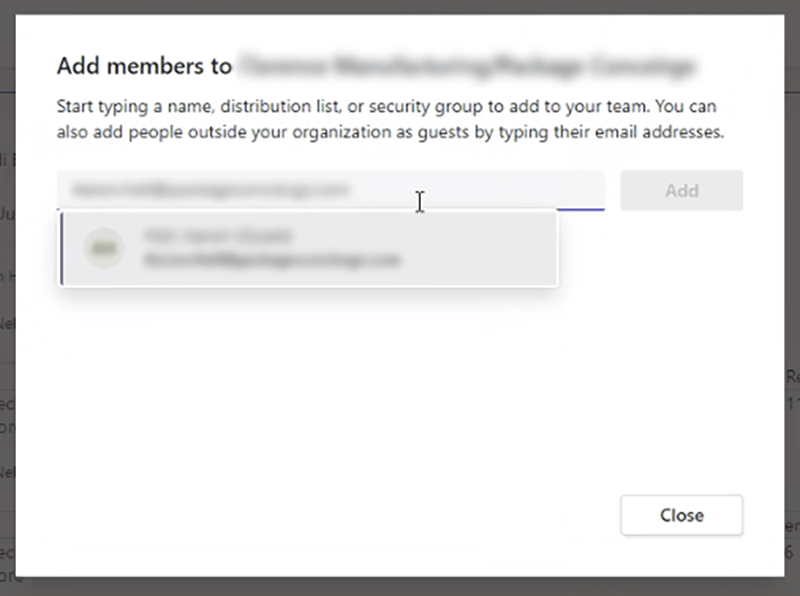
Once your team is created, click on the ‘…’ next to the team name, select ‘Add Member’, and type in the client’s email address.
Option 3 - Be invited as a guest to their tenant's Team
This option is simplest for clients but requires you to sign into their tenant. You will be required to switch between tenants for meetings or communication with other clients.
When entering a Teams meeting while using the client tenant on your desktop, the app will treat you as an external user and client permission will be required to enter meeting rooms. The client’s settings will need to allow for this, but once admitted, you will have a shared collaboration space.
Tip: Use Teams in an incognito browser to simultaneously keep both tenants open without having to switch back and forth for Teams Meetings.
Long term client, can update Teams setting to allow for collaboration.
Option 4 - Create a Shared Channel
This option is the best for all parties, as you can each work in your own tenant. It gives you access to threaded conversations, shared documents, and content without having to worry about permissions. This method only provides access to content in one specific channel and creates a separate space for documents, but it requires the client’s IT to update their tenant to allow collaboration with your domain.
Step 1 – Request your IT department to add the client organization to your collaboration partners in Teams.
Step 2 - Ask the client to follow these video instructions to add your organization to their collaboration partners in Teams.
Step 3 - Create the Teams team as shown in Option 2 above.
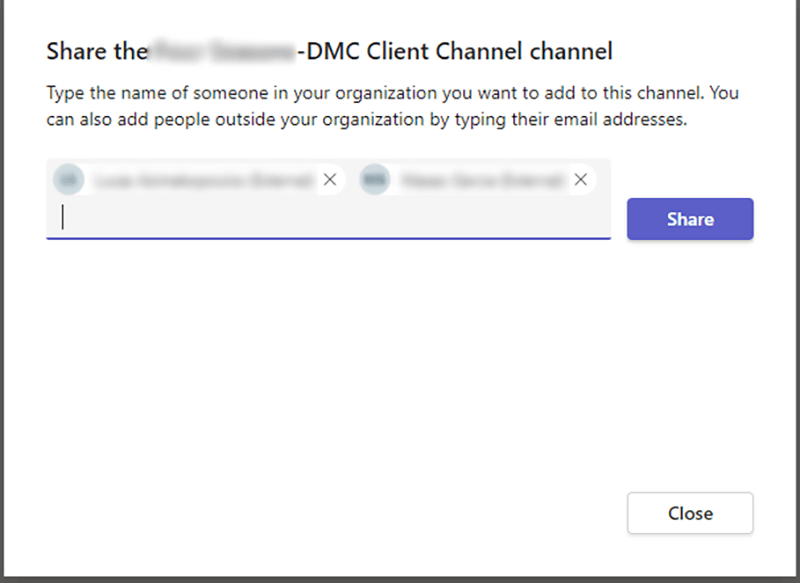
Step 4 - Create a new channel in the Team and use the shared channel option. Add the email addresses of your clients once step 1 has been completed (this will take a few hours to take effect). If the settings are not correct, you will not be allowed to invite them.
Whether it's real-time messaging, virtual meetings, file sharing, or integrated project management, Microsoft Teams empowers you to collaborate seamlessly with those outside of your organization.
DMC is a Microsoft Gold Certified Partner. Learn more about our Microsoft Teams expertise and contact us for your next project.