In this blog post, we are going to explore Microsoft Flow’s ability to integrate Salesforce with Office 365 and other environments.
However, before we begin, it is important to discuss what the uses cases for this are. Why use Microsoft Flow when Salesforce already has a suite of process automation tools (Process Builder, Salesforce Flow, Approvals) in its arsenal?
If you want the entire process to live within Salesforce, then the Salesforce native capabilities will work great. However, if you want your process to update any external systems, Microsoft Flow is a great option because it allows integration with multiple platforms without the need for a developer.
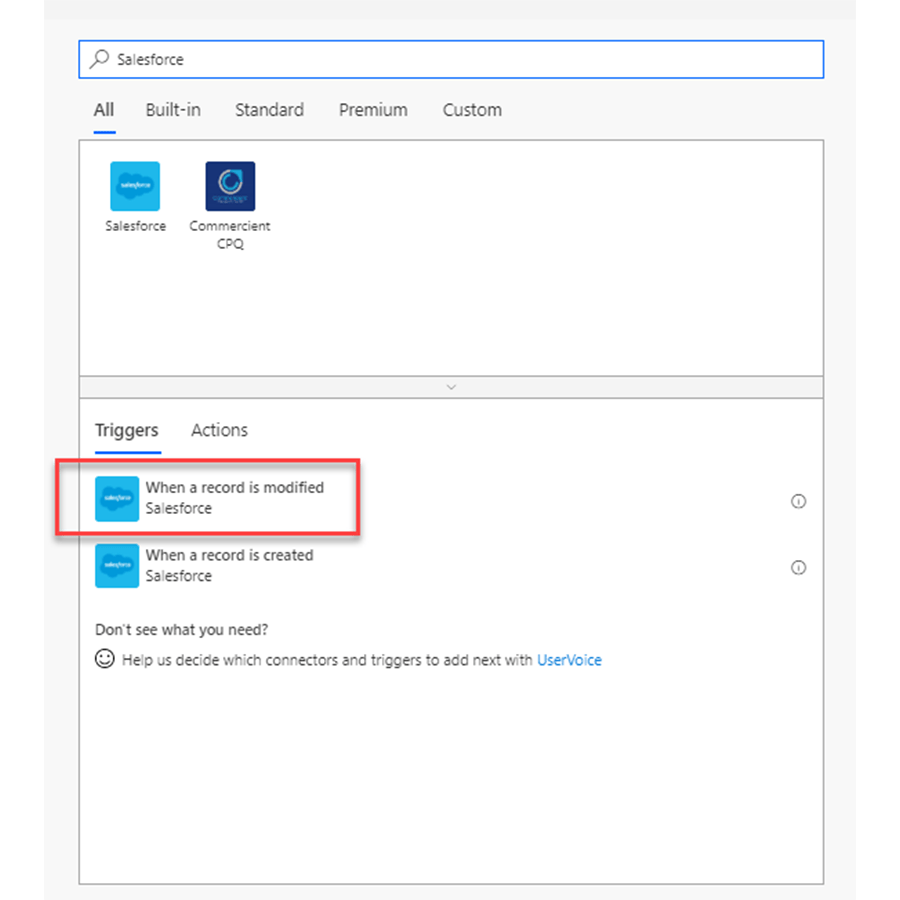
To begin, we will create a new blank Flow. For our trigger, we will search for “Salesforce” and choose the “When a record is modified” trigger action.
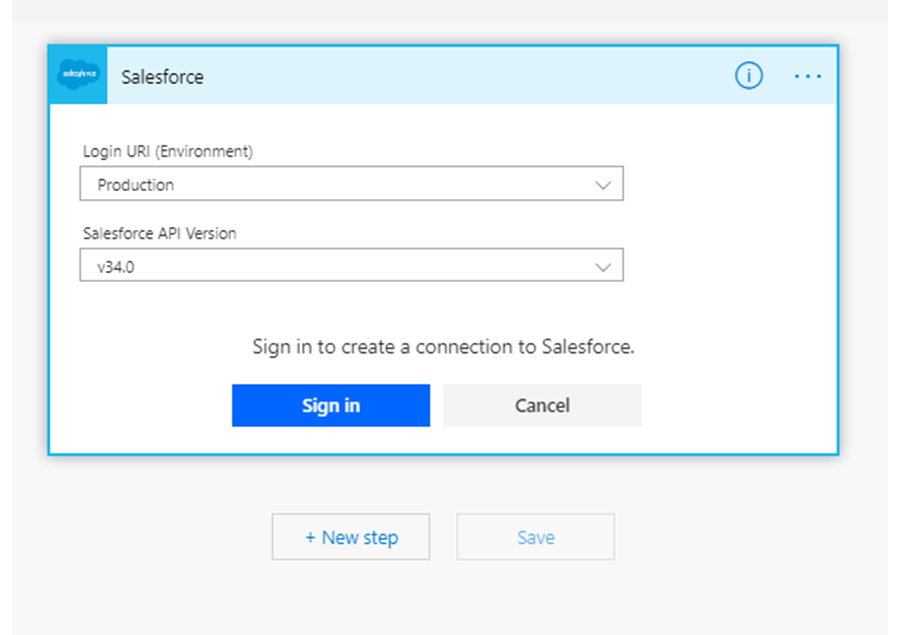
Next, we will select our Salesforce environment (production or sandbox) and the API version. After selecting the “Sign in” button, sign in using your Salesforce credentials.
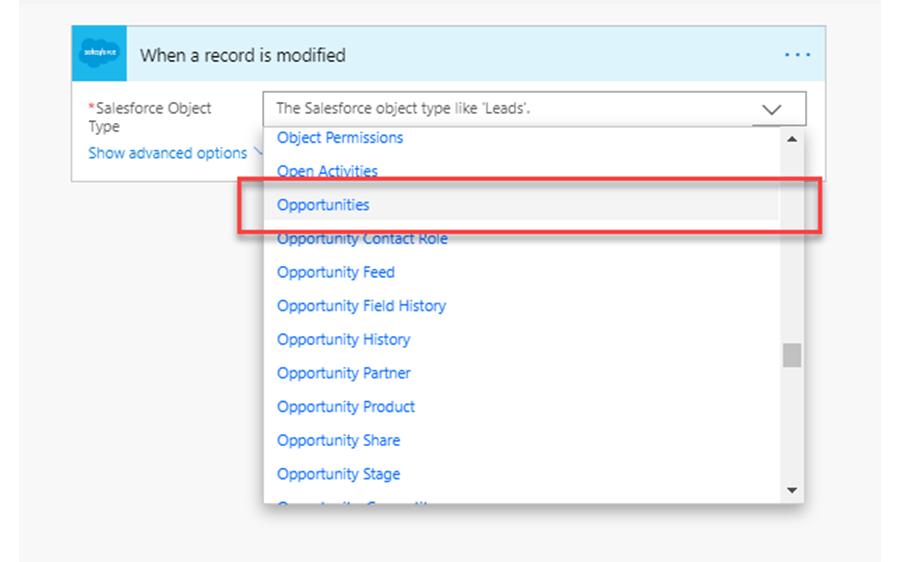
After this, you’ll select the Salesforce object that you want to trigger the Flow. In this example, we’ll select opportunities.
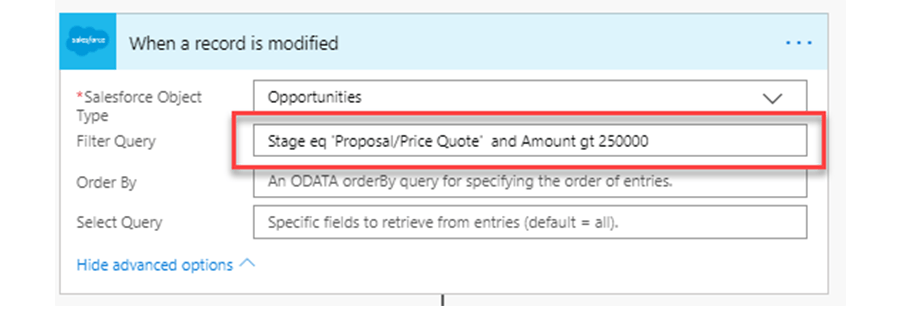
If we select “Advanced Options,” we will be given additional filtering options. In this example, we only want the Flow to run when a large opportunity (greater than $250,000) reaches the “Proposal/Price Quote” stage of the sales process. To do this, we use Open Data Protocol (OData).
In this example, I entered “Stage eq ‘Proposal/Price Quote’ and Amount gt 250000.”
To view a full list of OData filter capabilities, see this link here.
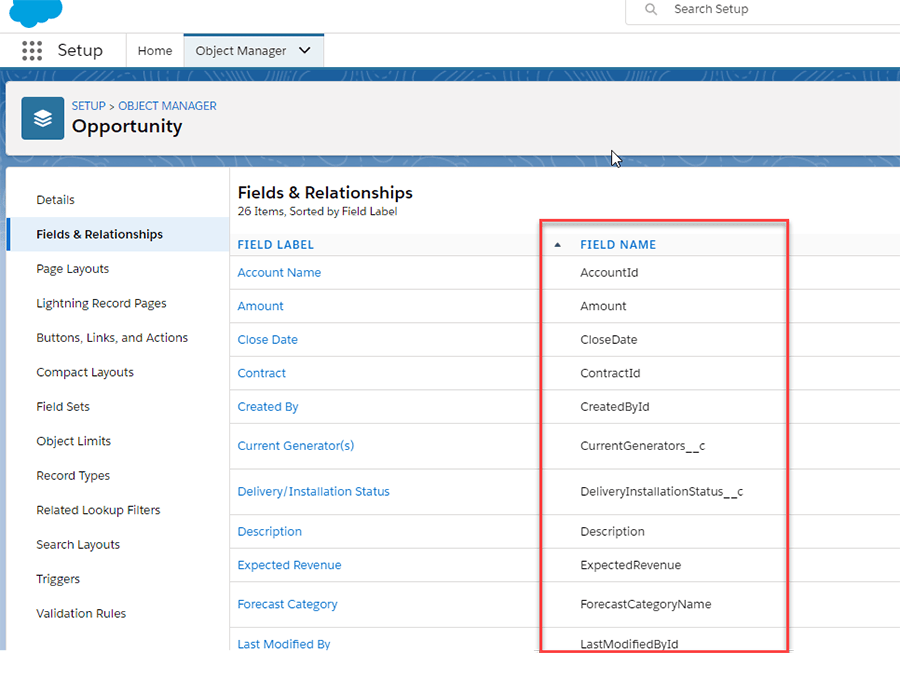
It is also essential to make sure you are using the correct field names within the filter query. In Salesforce, fields have both a Field Label, the name you see on a record, and a Field Name, the name you use when calling the field via an API. For OData filters, make sure you use the Field Name.
To see a full list of all field labels and names in Salesforce go to Setup > Object Manager > Opportunity > Fields & Relationships.
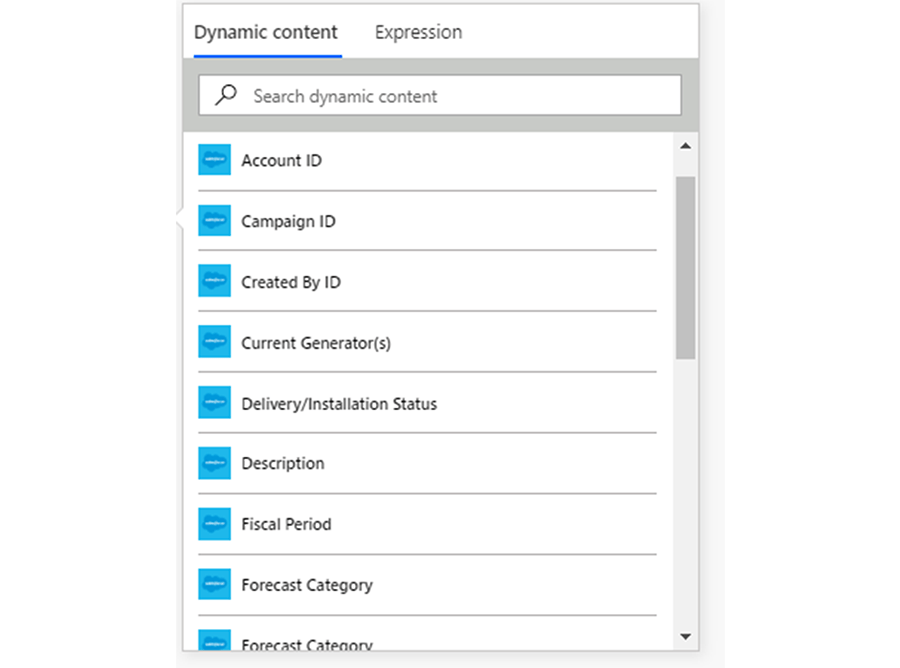
Now that we have correctly configured the trigger action, we have access to all of the opportunity’s dynamic data such as the Account ID, Amount, Opportunity Name, etc…
Next, we could:
- Post a message in a Slack channel or Microsoft Teams letting the team know about the opportunity.
- Start a multi-step approval process to review the price and scope of the opportunity.
- Create a new project site in SharePoint.
- Create a pre-populated proposal in a SharePoint document library using the Microsoft Word connector outlined in my previous blog post.
- The Salesforce connector also gives the ability to modify salesforce records which allows us to move an opportunity to the next stage, create new leads, create a new task, etc…
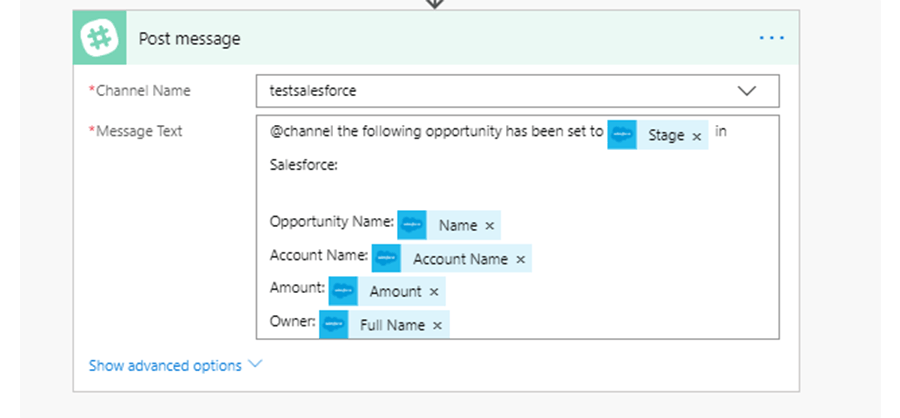
For this example, we will keep it simple by posting a message in a Slack channel.
In the choose an action search box type in “Slack” and select “Post message.”

Then create your message using the dynamic Salesforce data.
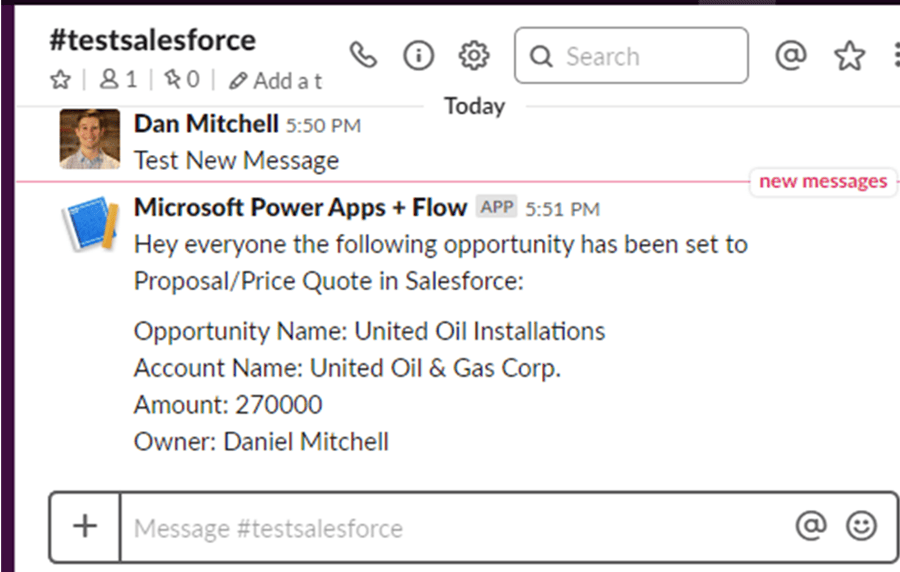
Now if we trigger the flow by moving an opportunity worth over $250,000 to the “Proposal/Price Quote” stage in Salesforce, we can see that it correctly posts in our Slack channel.
Contact us today for Salesforce development or Microsoft Flow solutions. Learn more about our Digital Workplace Solutions team and service offerings.