When using Power Automate flows, we have become familiar with using the vast array of variable options. Strings, Integers, floats, and even Booleans if the mood strikes. However, one option that is often overlooked is the humble Array.
You may be familiar with Arrays from your programming days (you have those rights?), and in a lot of ways they act in similar capacities. You can store a series of data points and references or modify them later. However, while that is what comes immediately comes to mind, the Array can store multiple data points in each Array node, allowing you to store tables of data in variable form.
Why is this good? Why would I need this? Often when we need to store a list or order of operations, the dark temptation of hard coding creeps back from our school days. "Why not just hard code this just once? I am in a rush, and it won't come back to bite me later" are the words of someone who has hidden a snake in their code. Storing these items in an Array allows for a relatively ease of changing run-time configuration options. Other good examples are:
- Storing the order for a sequence, such as an approval order.
- Storing connection information.
- Storing Page or batch sizes for long running processes.
Declaring an Array
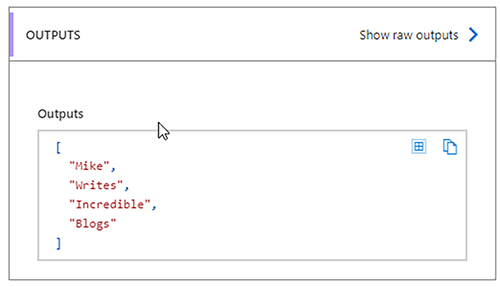
Creating an Array that stores simple data, is, as implied, pretty simple.
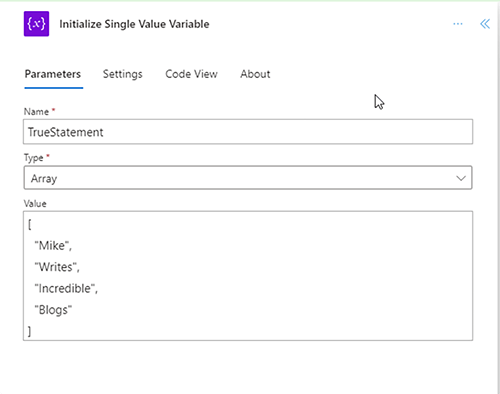
Choose the "Initialize Variable" option from the list of actions and choose the "array" type. Then format your data as follows:
[
"Item 1",
"Item 2",
"Item 4",
"Item 3",
"Items are sometimes out of order"
]
Declaring an Array with multiple values.
The more interesting and customizable way of using Arrays is to store multiple data points within a single node of each Array. The only thing that needs to change from the previous step is to use a different format.
[
{
"DataPoint1":"Please use something funnier than this",
"ClownShoeSize":7,
},
{
"DataPoint1":"That last joke was not funny",
"ClownShoeSize":-1,
},
]
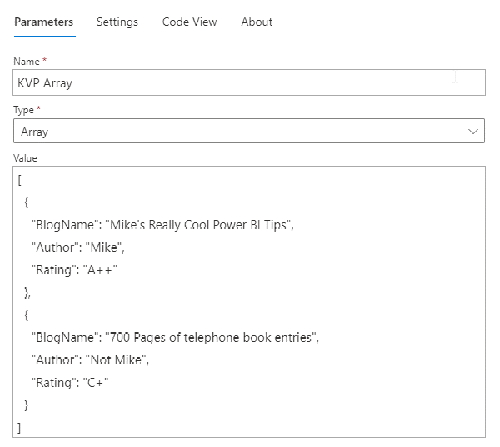
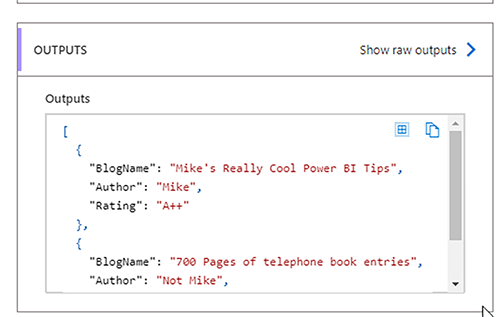
With this you can store what amounts to a table of data in this form. You could parse data from a table into an Array or grab items from the Array in order.
Getting data from Arrays
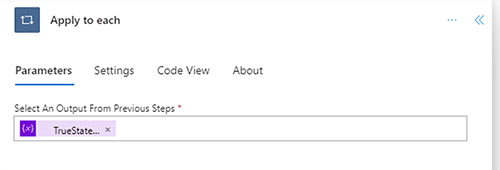
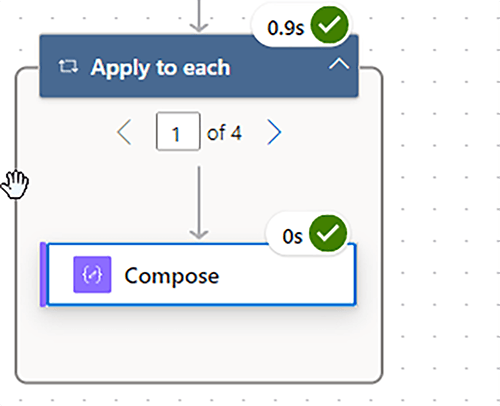
The easiest way to grab data from the Array is to put the Array into a "Apply to Each" control action on the Array to access each item separately.
However, while this is very easy for a single value Array, using a multiple item Array takes an extra step.
With a single item Array, one need just add the variable to the "apply to each" and reference the "current item" in whatever action you're using.
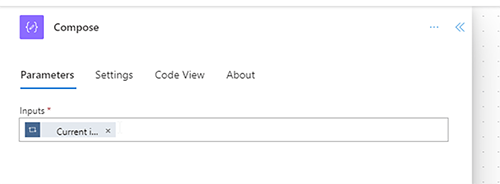
You can do the same thing with a multi-valued Array, but you just get a text outline of the node, without easy access to the individual nodes.
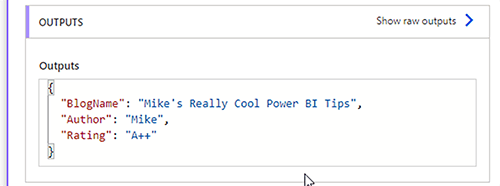
To get the data out of the multi-valued Array, use the Parse JSON action. Use the multi-valued Array as the input then click the Use Sample payload to generate Scheme Button.

Paste in the value from the variable (this needs to be done only once).
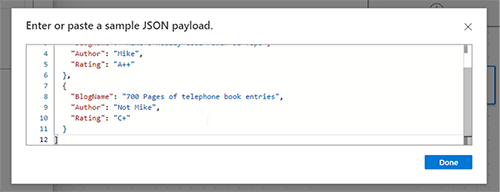
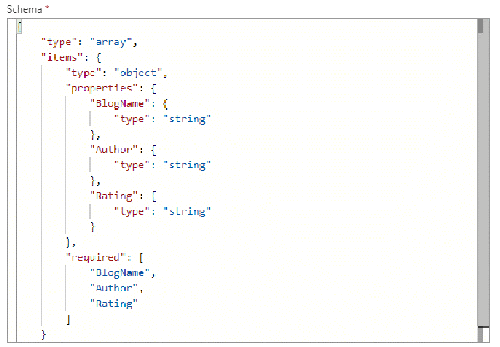
Click done and the schema is generated for you.
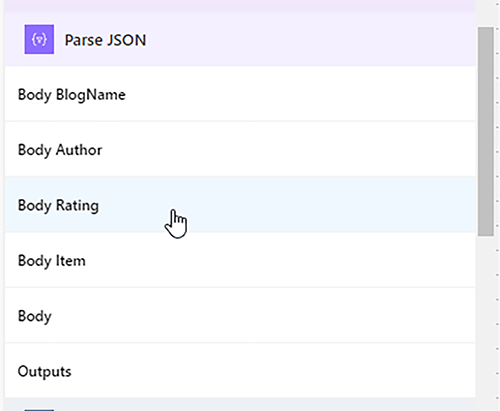
Now in a loop you can use the body from the Parse JSON action as the input.
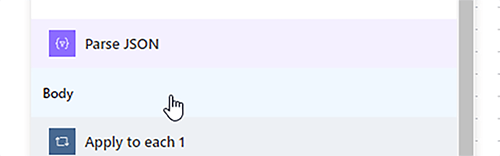
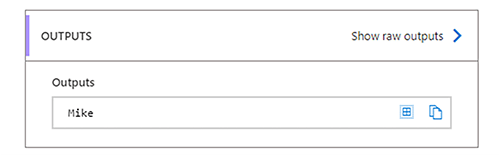
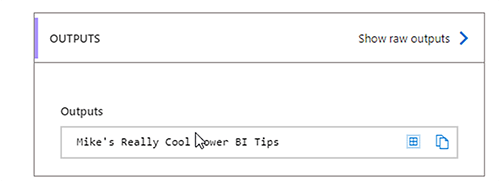
Then within that loop, you can access each of the data points of the multi-valued array separately.
Searching Arrays to approximate a key value pair
Sometimes you have an Array that is so large that looping through it would be time-consuming.
When this occurs, you can use an Array like a Key Value pair. Which, if you know the unique value of a fielld in a node, it can act as a key, from which, you can retrieve a value from the corresponding node.
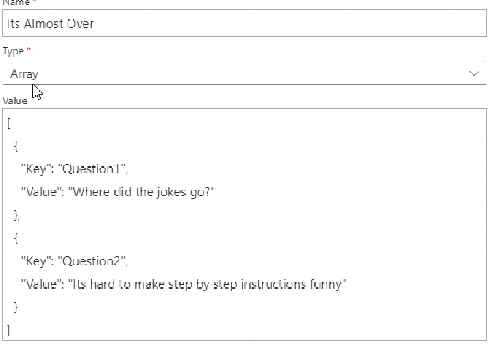
First, create a new Array with a field which you can ensure is of unique value.
Note: There is no way to enforce uniquness in the Array, so this will be entirely dependent on you to ensure that the inputs are valid.
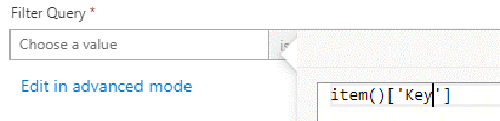
Next use the "Filter" action and use the Array as the input.

Use the following syntax to reference the key value "item ()['KeyFieldName']" Then enter the value of your key in the second field.
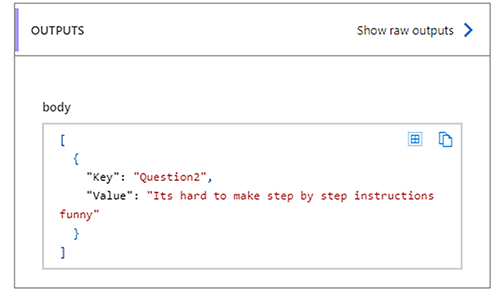
This will return the node in the Array that contains the key you entered. From there you can access the values as noted above.
Learn more about our Digital Workplace Solutions expertise and our open positions!