Getting Started with the ESP32 & ESP8266: 8 Tips and Tricks
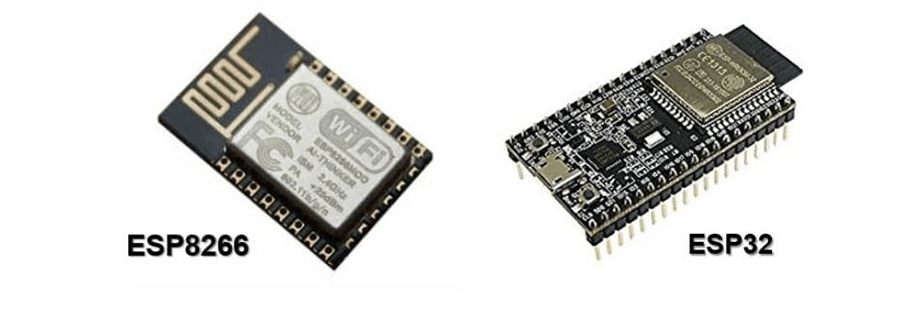
Espressif makes two of the most common modules used for Wi-Fi integration in embedded systems, the ESP8266 and ESP32. The ESP8266 was huge for IoT development. It contains a high-performance CPU with an antenna etched into the PCB to allow Wi-Fi connectivity. If you are left wanting more, the ESP32 packs another CPU and includes BLE and classic Bluetooth.
Espressif developed the Espressif Internet Development Framework (ESP-IDF) as their SDK for developing with the ESP32. There is a very good guide to getting their toolchain and SDK setup on Espressif’s website. The ESP-IDF has components for almost anything you’d like to do with the ESP32. There are drivers for GPIO, Wi-Fi, IoT communication standards, and so much more. Espressif recently began modifying their SDK for the ESP8266 to be similar to the ESP-IDF.
The ESP-IDF uses a menuconfig to enable sections of the ESP-IDF API, configure peripherals, etc. This is nice for finding all the components that are available through ESP-IDF and their options. Some of these options can also be changed on the fly through API calls, but I’d argue that I’d rather have these configured before runtime.
The ESP32 and ESP8266 are both great modules to work with, but each of them has their quirks. Below, I’ve compiled a list of tips for getting started with the Espressif modules:
- The sdkconfig file saves all the changes made in the menuconfig
- The menuconfig saves all configurations in a file called sdkconfig. Sdkconfig shows all options available to be set through menuconfig. If you are searching for a specific option, it can be quicker to ctrl = f through sdkconfig and backtrack to find the location through menuconfig.
- Menuconfig does read and write from sdkconfig, so changes you make in sdkconfig will be reflected in menuconfig. If you have a lot of trouble finding a parameter through menuconfig, this can be a backup option (though it is not recommended by Espressif so be warned!)
- Run make with parallel jobs
- Building a project using ESP-IDF can take a while because they do not automatically run parallel jobs. This causes long compile times when rebuilding from scratch. Since every change in menuconfig requires a complete rebuild, this can start to eat a significant amount of development time.
- To build with parallel jobs, you need to add the -j option to your make commands. A command of make -j4 will run make with 4 parallel jobs. Espressif recommends running with option -j(number of CPUs +1)
- Not all GPIO pins have full functionality
- The ESP32 has 4 pins that are labeled as input only. These pins are GPIO 34, 35, 36, and 39.
- The ESP32 also has 18 ADC pins, however, 10 of these cannot be used while Wi-Fi is being used! The pins that cannot be used as ADC with Wi-Fi are GPIO 0, 2, 4, 12, 13, 14, 15, 25, 26, 27.
- Since the ESP32 and ESP8266 have external flash, the modules have a SPI interface. On some development boards, these pins are exposed, so it is recommended to not use these pins in your projects. On both boards, these pins are GPIO 6-11.
- Default FreeRTOS tick is 10ms
- The default tick rate for FreeRTOS in ESP-IDF is 100. This can be updated up to 1000 with no issues, but anymore than that I’ve heard is unreliable. If you need timing more precise than 1ms, you may need to implement RTC timers with interrupts.
- OTA updates for ESP32
- ESP-IDF gives the user control over how the external flash is utilized through a partition table. Setting up the flash partitions correctly is essential for OTA updates. OTA updates require at least 3 entries, otadata, ota_0, and ota_1.

- On first boot, the bootloader jumps to ota_0 partition (if the factory partition is not specified) and begin running the firmware. When the firmware activates a firmware update, it then updates the ota_1 partition. The device then runs the firmware in ota_1 and updates otadata to mark ota_1 as the active partition, so that on bootup, ota_1 is run.
- One of the cool features included in this method of updating firmware is that it allows for firmware verification on every update. This way, if you push code to your device that doesn’t pass your user-defined tests, the device can roll back to the previous ota partition and continue running. This is a nice feature to be rolled into the ESP-IDF as it can save.
- Add more RAM
- Both the ESP32 and ESP8266 support adding additional RAM. Espressif has even developed an SRAM device for the ESP32, called the ESP-PSRAM32. The external RAM is connected in parallel with the external flash chip, allowing the new RAM to be accessed the same as internal RAM.
- Espressif also has the ESP32-WROVER module, which contains an external 4MB SPI Flash and 8MB external PSRAM, in case you don’t want to add these yourself.
- Security
- Both modules support signed firmware updates. This can help guarantee that any code updates are only applied by you (or anyone who gets a hold of your private key). Additionally, the ESP32 supports secure boot and flash encryption. Secure boot is another method of ensuring only your code can run on your device. Flash encryption protects your firmware from being accessible to anyone with physical access to your device.
- Low-Power Mode
- Both the ESP8266 and ESP32 can enter either light sleep or deep sleep.
- In light sleep, clock pulses are powered off and RAM is retained. When exiting light sleep, and the program continues from wherever light sleep mode was entered from. There is also the ability to enable automatic light sleep, which can retain Wi-Fi connection by cycling between active mode and light sleep mode.
- In deep sleep, the CPU and memory are powered off. The RTC module is still powered in this mode, which is responsible for periodic wakeups and can store a small amount of memory. The ESP32 also has an ultra-low power processor that can be enabled in deep sleep!
Contact Us Today to Speak With Our Embedded Development Solutions Experts and We Can Get Started on Your Next Project!
Comments
There are currently no comments, be the first to post one.