One of the fastest growing SCADA/HMI platforms today is Inductive Automation's Ignition. In addition to the well-known Vision visualization module, Ignition contains Perspective, a web-friendly visualization module built from the ground up to work in any web browser — even on mobile!
Although most Ignition functions work the same across Perspective or Vision, there are some adjustments to work better in a web-friendly environment. This multi-part blog will serve as a guide to setting up dynamic Perspective screens that take full advantage of the powerful new features.
In the last two blogs, we created a status display to toggle an enable bit and display a numeric value. In this blog, we will combine those objects into an embedded view and use a flex repeater to create a dynamic layout.
Creating a New Flex View
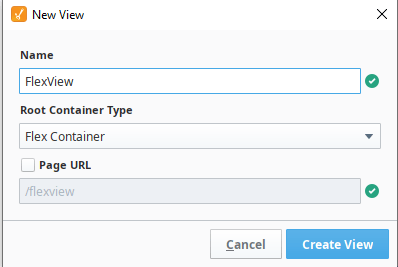
To create a new view, right click "Views" in the Project Browser then click "New View" In the popup. Be sure to change the root container type to "Flex Container". The root container type cannot be changed once the view is created.
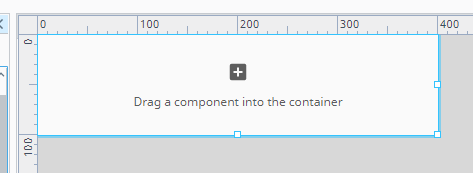
Next, select the view in the project browser and resize it using the width and height properties in the property editor. Change the dimensions to 400x100px.
Next, return to the main view and copy the toggle button, enable display, and numeric value display. Paste these three components into the new view's root container.
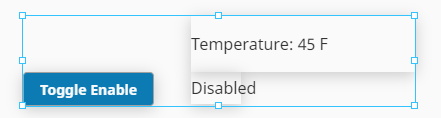
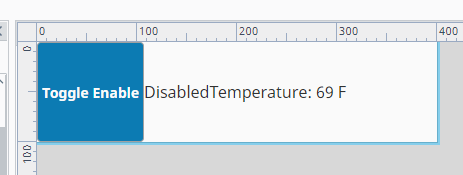
The three views line up on top of each other in the flex container, which is not what we want. We need to configure the flex container and object position properties to best display our data.
Configuring the Flex Container
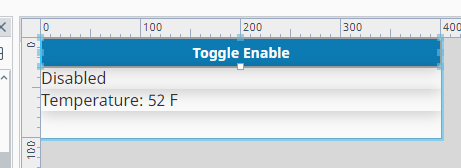
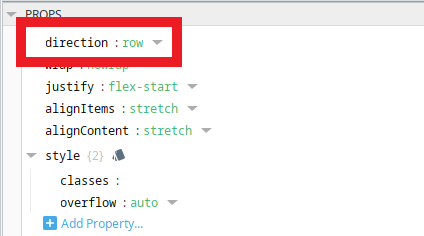
The flex container has many different properties that determine how objects are displayed, the first is the direction. Switch this to "row" to change the orientation of the three objects.
Now our objects are in a row, but they are not the correct size. We want the button, enable, and numeric display to take up different amounts of space. Luckily, there are position properties on each object that can achieve this exact behavior.
Select the button object and find the position properties in the property editor. The basis determines how much space the object "wants" to take up. It can be in percent (%) or pixels (px). Set the button basis to 20%, the enable label basis to 30%, and the numeric label to 50%.
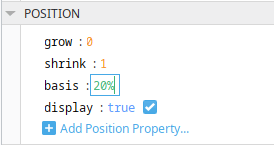
The other parameters are shrink, which decides if the object should shrink if there isn't enough space, and grow, which decides if the object should grow to take up unallocated space. We do not need to adjust these.
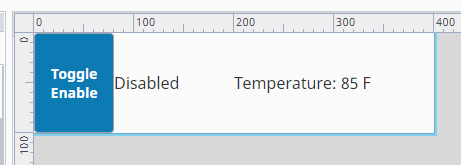
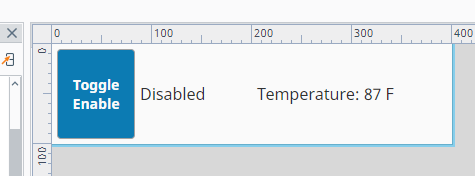
After adjusting the basis, each object takes up the allotted percentage of space. There is one final tweak: adding a margin to the button so it is spaced away from the edges and other components.
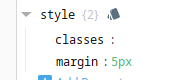
Select the button and find the "style" property in the property editor. Press the plus button to add a new style entry. Name it "margin" and set the value to 5px. Alternatively, you can click the style card icon button to graphically view and edit style definitions.
With a margin on the button, our flex container view looks ready to go! All that's left to do is to add it to our main view.
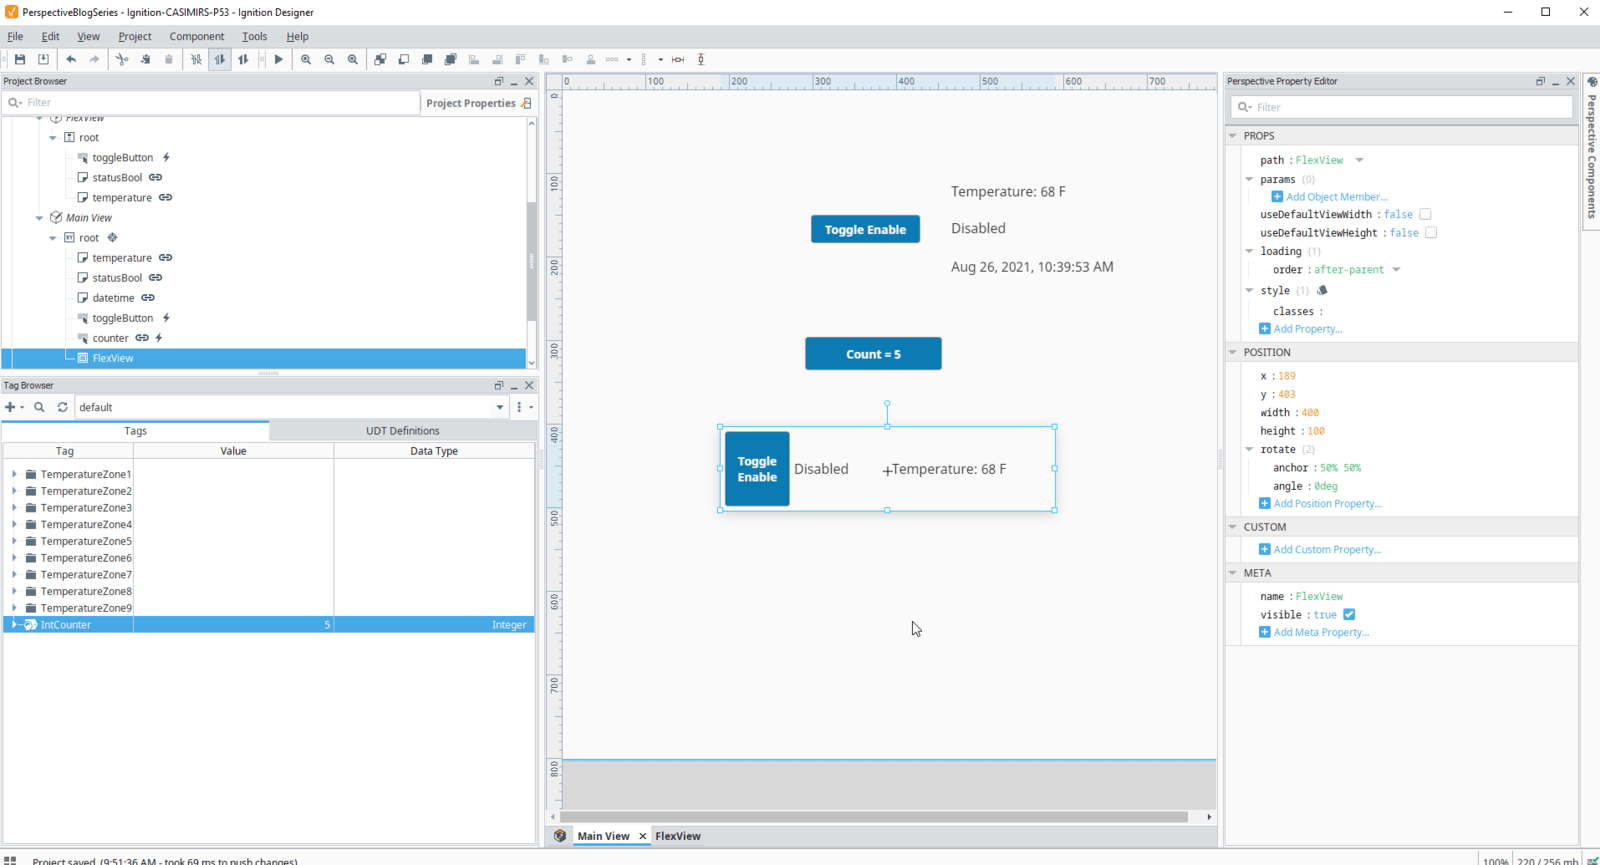
Embedding in Another View
Embedding views within other views is easy. Just find your desired view in the project browser, then drag it into your current view. Alternatively, you can grab an "Embedded View" object from the toolbox, then set the path parameter to your view's path. The embedded view now acts as a singular object.
In this blog, we learned how to create an embedded view template and add it to another view. In the next blog, we will add parameters to this template so we can create multiple instances to get data from different sources!
Learn more about DMC's Ignition expertise. Contact us to get started on your next HMI, SCADA, or MES project.
See other blogs in this series: Creating Dynamic Ignition Perspective Projects
Part 1: Bindings and Transforms
Part 2: Button Event Actions
Part 3: Embedded Views and Flex Containers
Part 4: View Parameters, Indirect Bindings, and Flex Repeaters
Part 5: Flex Repeaters with Variable Number of Instances (coming soon)
Part 6: Changing Colors and Other Properties (coming soon)