At NIWeek this year, there were a few sessions that I really enjoyed focusing on user interface (UI) and user experience (UX) design in LabVIEW. I take a personal interest in designing intuitive and aesthetic interfaces for my applications. Here are a few tips I learned from NIWeek.
#1: Classic, Flat Controls
Modern user interfaces tend to use flat or semi-flat UI graphics. Flat design became popular around 2012. By this time, users were more comfortable with digital mediums than similar users a decade earlier. Flat design was a break from the common trend to simulate the appearance of the physical world. Instead, flat design aimed for a simplistic, minimalist, and clean approach for user interface design. Over time though, the disadvantages of flat design became more apparent. Studies showed that increased exposure to flat, yet clickable elements slowly reduced a user’s ability to determine what was clickable and what was not.
This lead to the slightly improved “semi-flat” design (also referred to as ‘semi flat,’ ‘almost flat,’ or ‘flat 2.0’). The Semi-flat design style is mostly flat, but makes use of subtle shadows, highlights, and layers to create some depth in the UI. Both the flat and semi-flat designs have a clean and simple look. If you combine one of them with a tasteful color palette, you will be on your way to designing a professional and modern UI.
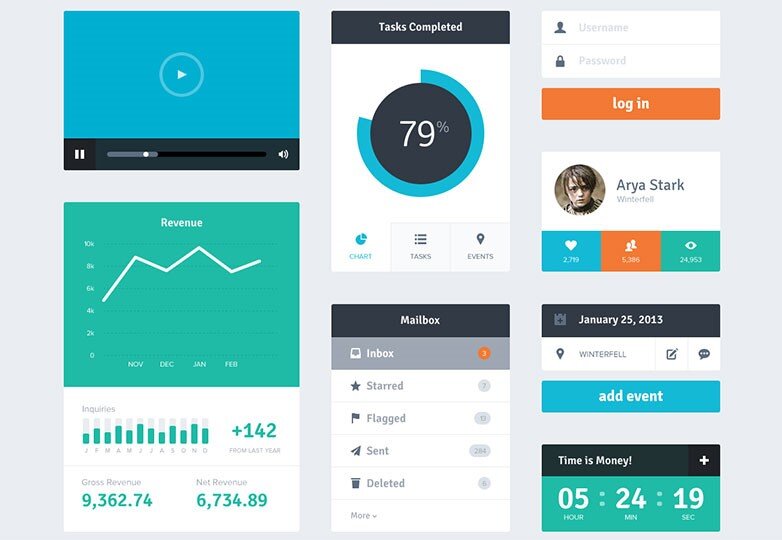
Example of a flat UI (from free Flat UI Kit by Riki Tanone)
#2: Layout – Simpler is Better
It’s very common in LabVIEW to try to shove as many controls on a single front panel as possible, but try to keep user interaction in mind. This is a critical component of UX design.
Some questions to ask when deciding layout:
- What is the most common interaction the user will have with the UI?
- What are the most important pieces of information I am displaying on the UI?
- What is the typical order of operation when interacting with the UI?
If you set up your user interface to intuitively guide the user through the motions of using your program, they will thank you for it. Also keep in mind that less is more when it comes to UI design, as you may have noticed from the flat and flat 2.0 design styles. Instead of making one cluttered interface, consider breaking controls and indicators into different groups to display on a tab control. Allow the user to focus only on the important information for any given view.
Remember, it doesn’t matter how pretty your UI is if the user can’t figure out how to use it!
#3: Color Palettes
Colors are very important to the overall look of a UI. Just as with layout, less is more when it comes to colors.
A good practice is to only choose a couple of colors for the entire UI. Consider using shades of grey and one or two theme colors. Or, you can use complementary colors to highlight selections or important things.
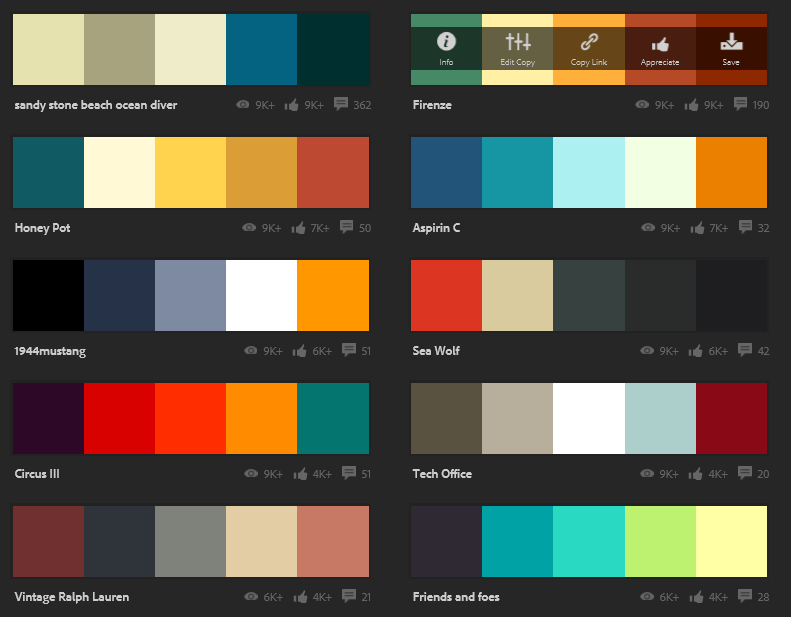
When in doubt, just look at other professional applications or websites to get a sense of what color palettes the experts use. Adobe Color CC is a free web-based tool that is fantastic for helping designers choose color schemes:
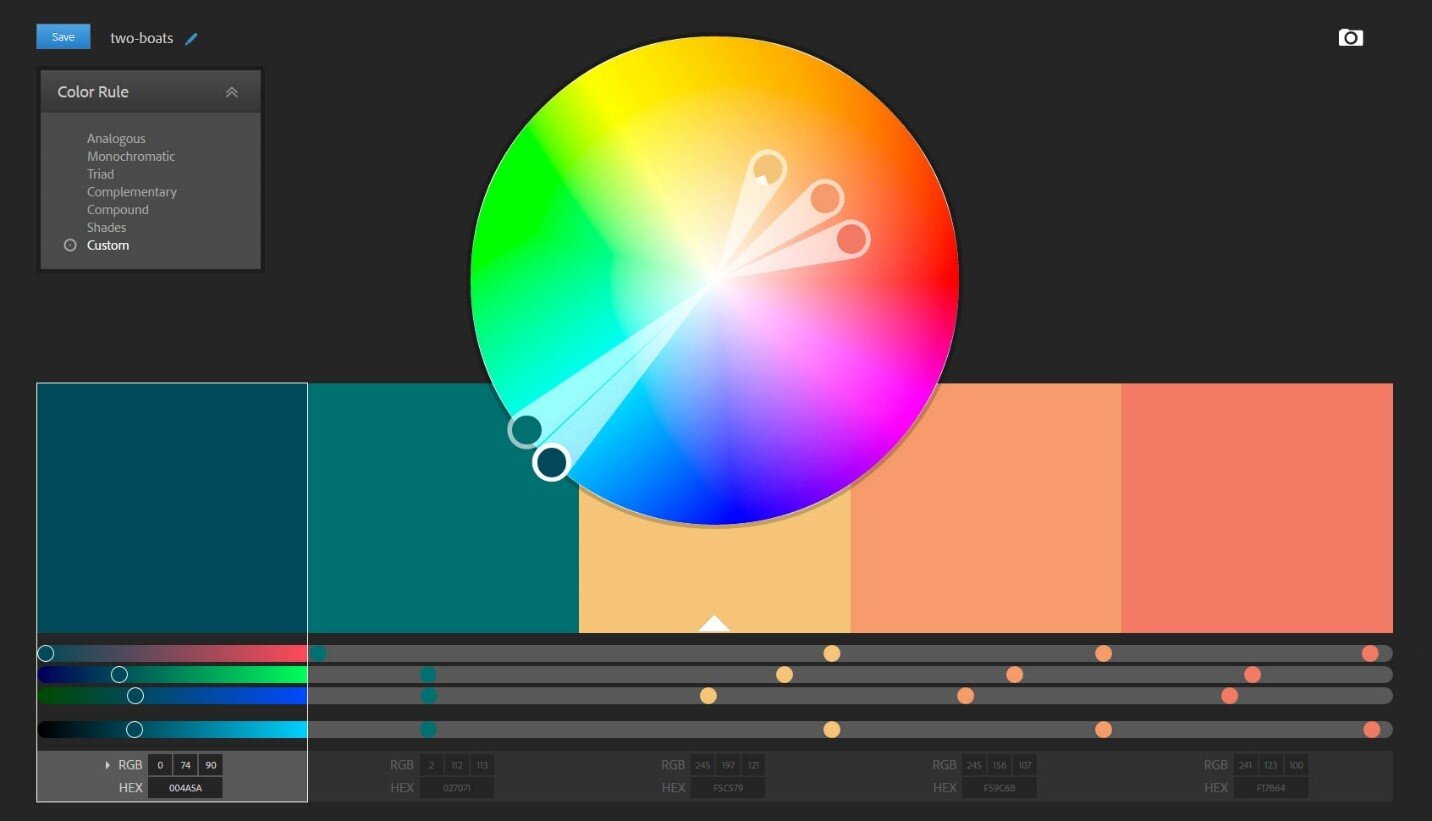
You can even click ‘Explore’ up at the top of the page to get ideas from palettes other designers have created.
#4: Animation
Have you ever seen animation in LabVIEW? If you’re like most developers, the answer is probably no. Animation plays an essential role in modern applications. It acts as the bridge to tie together the layout and feel of your application. Effective animation can help keep your layouts simpler by moving panels on or out of the viewing area. It also helps direct your user’s attention to areas of the application that need their input. In this way, you can utilize animation to improve your application’s intuitiveness and provide a better user experience overall.
As you probably know, LabVIEW does not have animation built into any controls. The good news is that there is an easy way to add movement and animation to your user interface that won’t cost you too much time.
I have created a simple downloadable demo that shows you the basics.
 Download Animation Demo (LabVIEW Animation Demo.zip - 17.2KB)
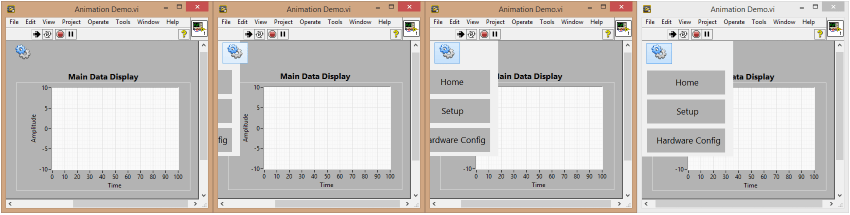
The main display and the menu bar that we added animation to are shown below.
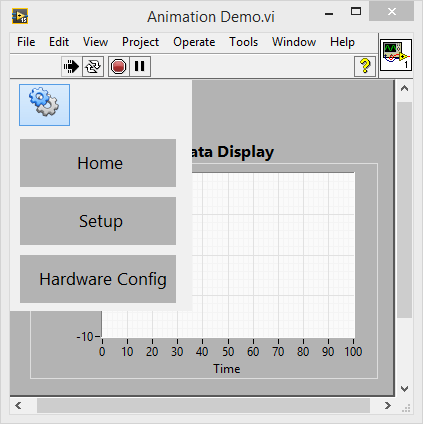
This example uses a tab control for the animation, although you could use any control. When the user presses the settings button on the main display, the custom menu bar (tab control) slides onto the screen from the left, enabling the user to select from the displayed options. When the user presses the menu button again, the menu slides off.
This .vi works by adjusting the “Position” property of the tab control within a while loop (in that it can executes repeatedly as long as a certain boolean condition is met). Using an exponentially decaying shift in position, we are able to give the animation a realistic and smooth feel. If you choose an appropriate delay time between loop iterations, then it actually appears that the tab control is sliding onto your main viewing area.
Below are a set of pictures taken over a time period of about a second that show the animation movement of the control. Of course, downloading and checking out the demo file above is probably the best way to explore more about it.
National Instruments also has a few examples that you can find online. Using Property Nodes to Create Orbiting Boolean Indicators is an excellent example to check out from the NI Developer Community that can help you understand the idea of moving controls and get started making your own custom animations.
#5: Modify Classic or Silver Controls
So, how do you make those flat or semi-flat controls I mentioned? The standard modern, silver, and classic controls in LabVIEW are not going to provide you with what you need, unless you customize them.
If you right-click on a control, you can select Advanced -> Customize to give these controls a nice/custom look. You can choose to hide many graphics you don’t like as well.
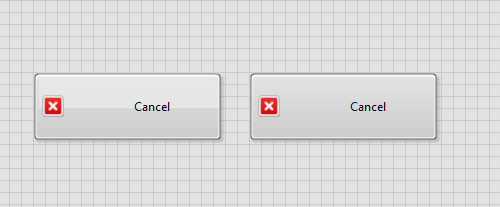
I have found that the silver and classic controls are the easiest to quickly modify to give you more attractive controls. In the example below, I hid the shading on the silver button control. It looks better already!
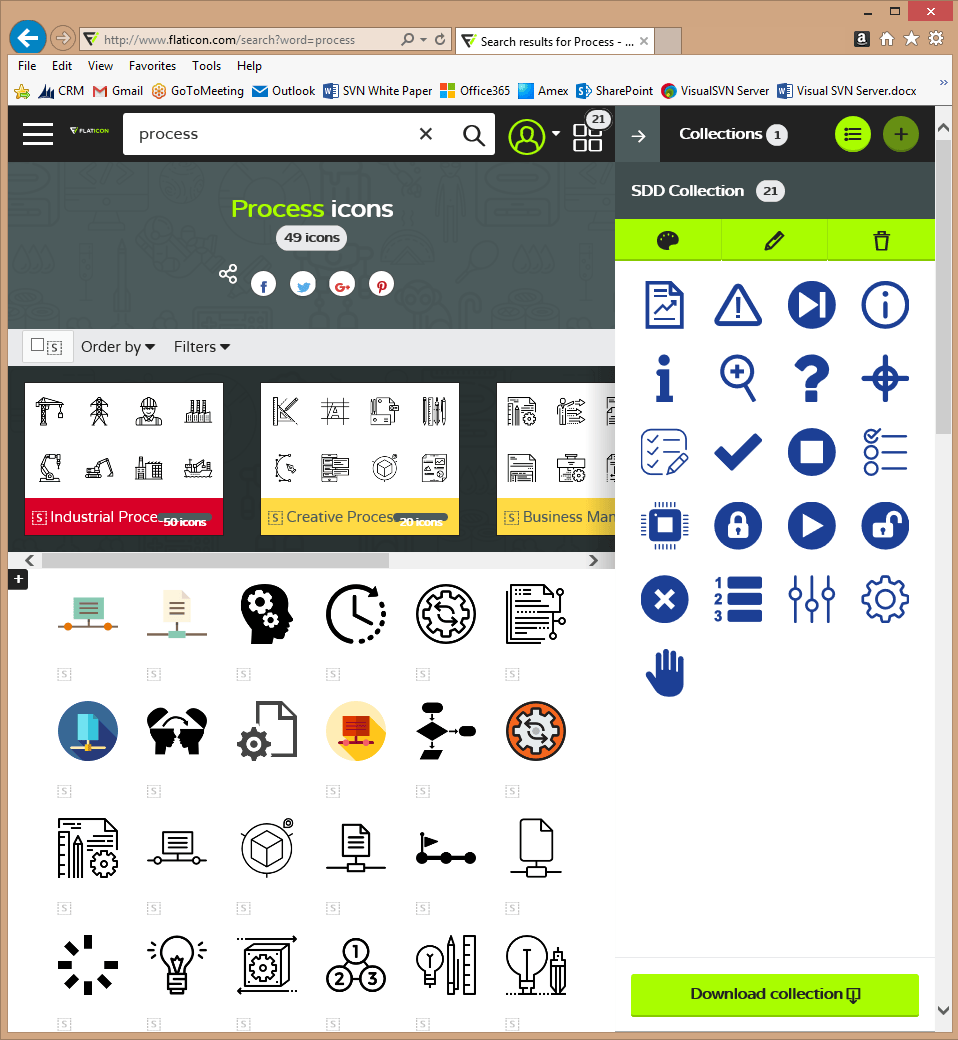
Customize it even more if you’re not satisfied! You can change the icon, the shape, even replace elements of the button with your favorite pictures from the internet. I personally use Flaticon to get some great custom icons for my application buttons.
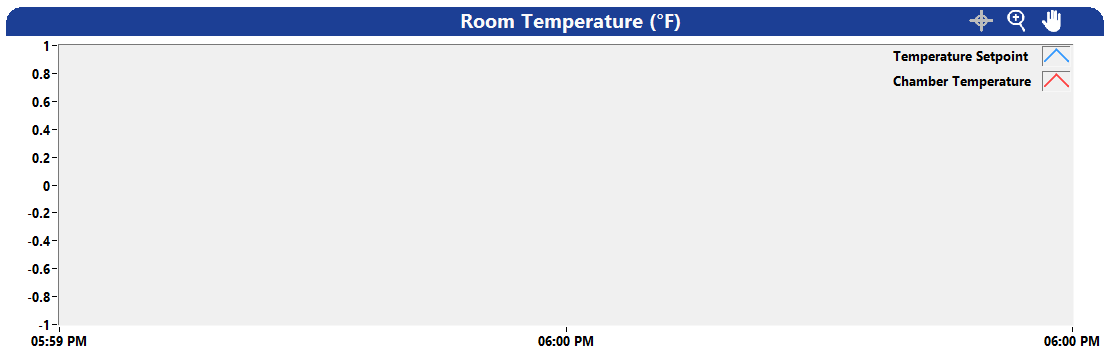
I’ve also recently designed a new graph control that I prefer over the existing LabVIEW ones. This was all done just by customizing the already-provided default controls in LabVIEW. Sure, it does take time to make them look nice, but now if I ever need a visually-appealing graph, I have a much better starting point than the default controls.
#6: Custom Control Palettes
If you don’t want to design your own controls, just check out UI control palettes that other LabVIEW developers have made. Some are free while others cost a little extra, but in the long run, the benefits outweigh the cost if you’ll be designing a lot of nice user interfaces.
Here are my favorites:

The Bottom Line
As LabVIEW developers, we have become accustomed to the primitive modern, silver, and classic control palettes, but unfortunately (or fortunately), our end users are not. They expect the same quality they get from their free Apple/Android apps. Furthermore, your UI is the window through which the user experiences your application. It doesn’t matter how good your code is if the user has a hard time figuring out which buttons to press, or is overwhelmed by all the colors and information on a single screen. This is the importance of UI design and UX design.
By following these six tips, you will be better equipped to satisfy your end user’s desire for a user-friendly and aesthetic user interface.
Learn more about DMC's LabVIEW programming expertise and Contact us to find user experience and interface solutions today!