Getting Started with WinCC OA: Part 1 - Creating & Opening a Project
“OA is a beast of a program.” One of my fellow DMC engineers made this remark when I began learning how to program using SIMATIC WinCC Open Architecture (OA for short). Indeed, for someone just getting started with OA, the SCADA software can seem quite daunting. If you’re in this situation as I once was, fear not. I’m here to walk you through the basics of OA and get you programming in no time!
In part 1 of the “Getting Started with WinCC OA” series, we’ll start with creating a project in OA, adding subprojects, and opening the project.
NOTE: This tutorial assumes that you’ve installed and properly licensed WinCC OA. Please ensure this is complete before proceeding.
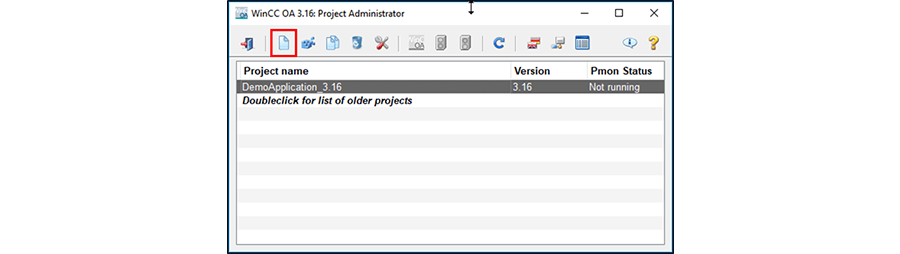
- Using the Project Administrator, create a project in OA:
- Click “New project”
- Select “Standard Project” (for version 3.16) or "Legacy Standard Project" (for version 3.17)
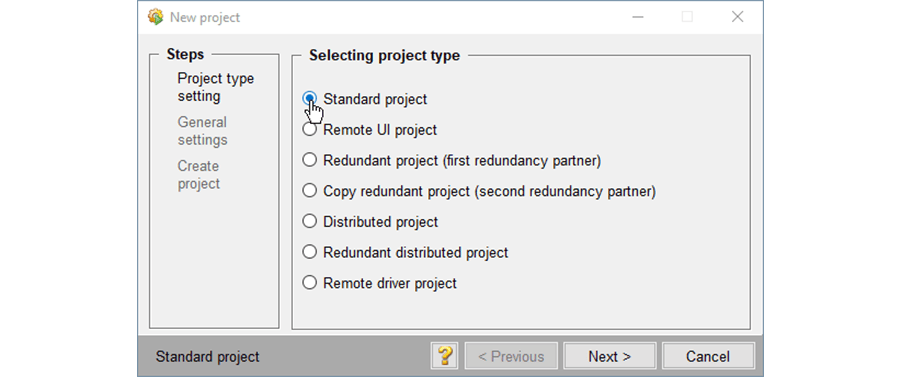
Version 3.16
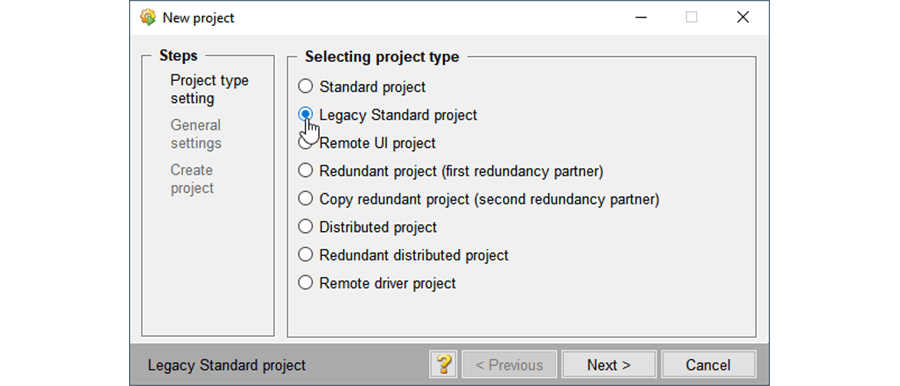
Version 3.17
- Name your project
- DO NOT USE SPACES IN ANYTHING OA RELATED
- Use camelCase, PascalCase, and underscores_as_needed.
- If you’d like to set a password for your project development, you may do so during this phase
- Integrating a subproject (optional)
OA works in layers (like ogres or onions) in that development that occurs in the primary project can reference entities in subprojects. This process will be elaborated on in future “Getting Started with WinCC OA” editions.
If you’d like to add an existing project (like the DMC OA Open Library) as a subproject, follow the steps below:
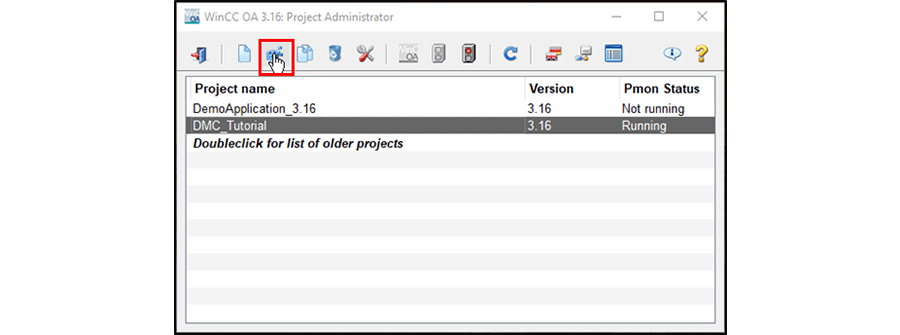
- In the Project Administrator panel, select “Register new project.”
- Select the folder of your existing project and select “Ok.” This will register your project with OA and will allow it to be used as a subproject.

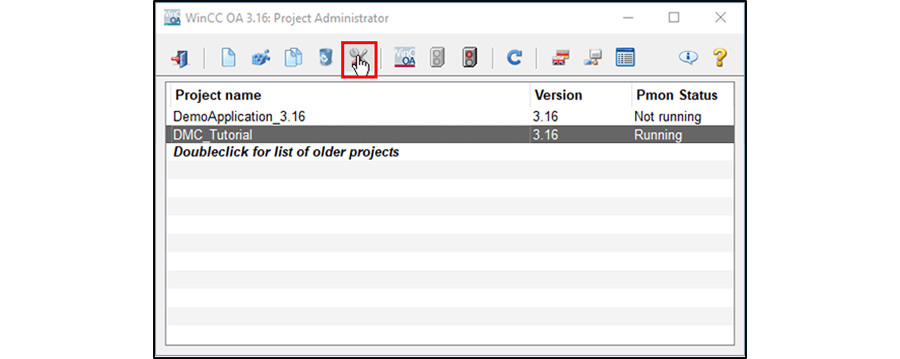
- In the Project Administrator panel, select “Change Project Properties.”
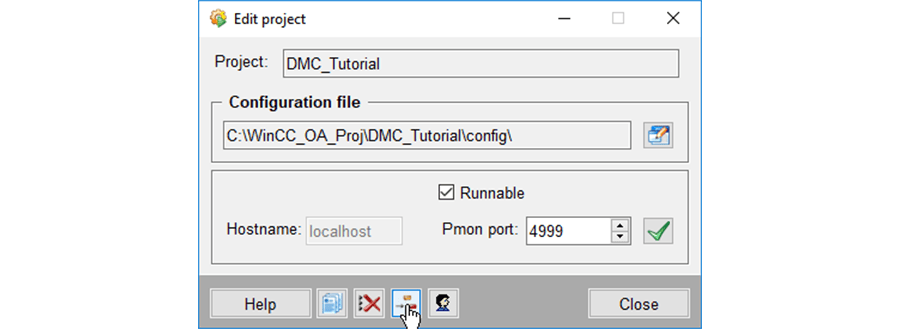
- Select “Integrate Subproject”
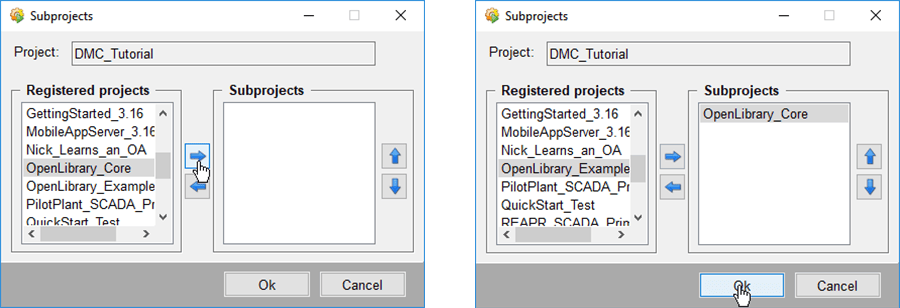
- Move your desired project from the “Registered projects” list to the “Subprojects” list and select “Ok”
- Open your project
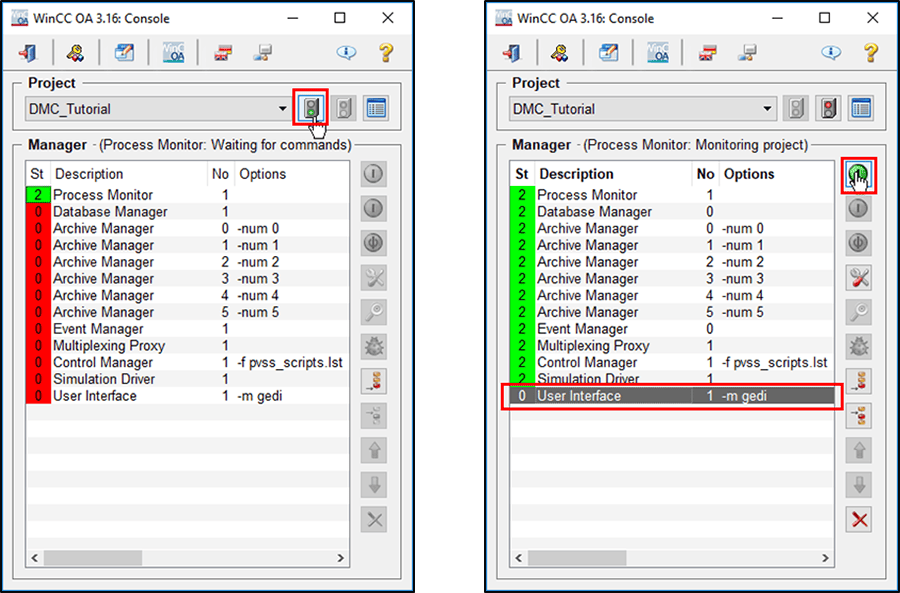
- Navigate to the WinCC OA Console
- Select your project in the project drop-down
- Click the green stoplight “start project”, and wait for the graphics editor (Gedi) to open (Depending on project settings, you may need to start the Gedi/user interface manager individually).
- This is where you’ll enter your “root” password. If you did not create a password, simply select “OK”

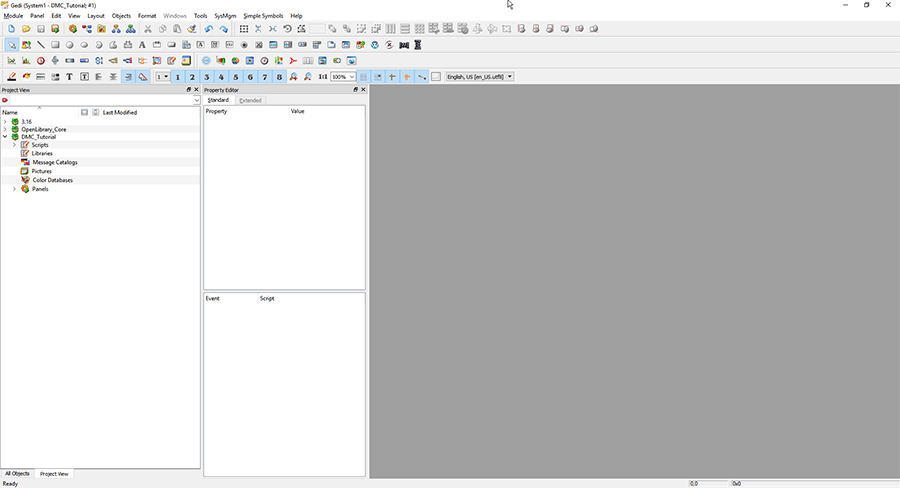
Now that Gedi is open, we’re ready to begin investigating all the tools, project layers, and development environments we have at our disposal. First, however, we must understand OA’s folder and program structure. I will cover these items in the next part of “Getting Started with WinCC OA.”
Topics to look forward to in this series:
Contact DMC to get started on your next WinCC project and learn more about our Siemens SIMATIC WinCC Programming as well as our WinCC Open Architecture Development.
Comments
There are currently no comments, be the first to post one.